Setup Android Emulator and install Apk (Mac OS X)
setup PATH variables to use adb commands to install/uninstall apk in emulator and real Android devices

Introduction:
This post contains instructions to set up Android Emulator devices via Android Studio. Please note, all screenshots, commands, and instructions that follow are using Mac OS only
Pre-requisites:
Android Studio is installed
node.js and npm is installed
It is assumed that you know:
what are PATH variables
how to use vi editor in Terminal
how to enable/disable the "developer options" and "USB debugging" on Android device
Learning Objectives
Setup Android virtual devices and launch it via Android Studio
Launch Android emulator via cli
Using adb commands
to view connected devices
to install/uninstall apk on emulator
1. Setup Android Devices via Android Studio
1.1 Setup Demo Project
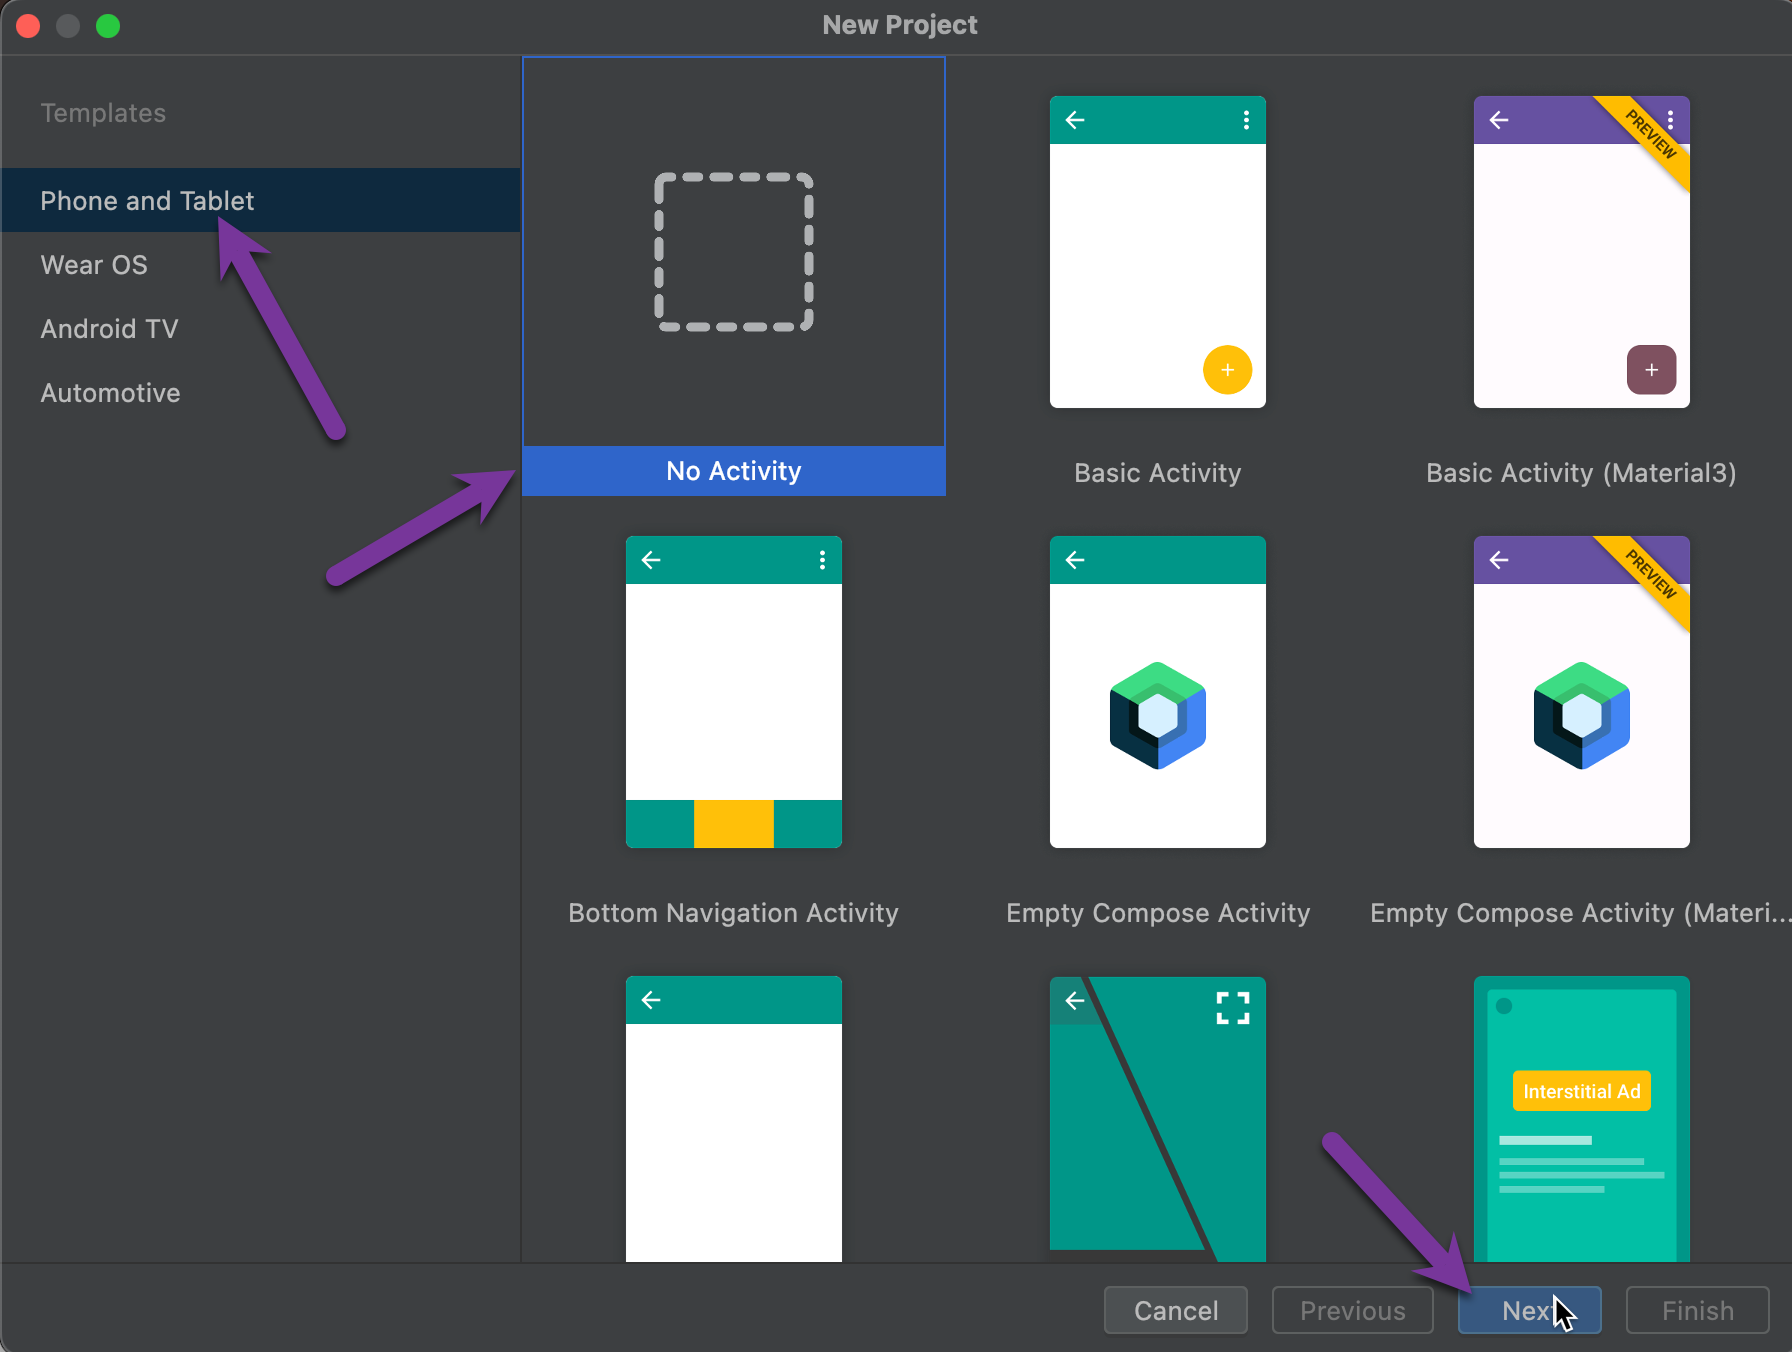
After installing Android Studio, set up a new Project using all the default options as follows:
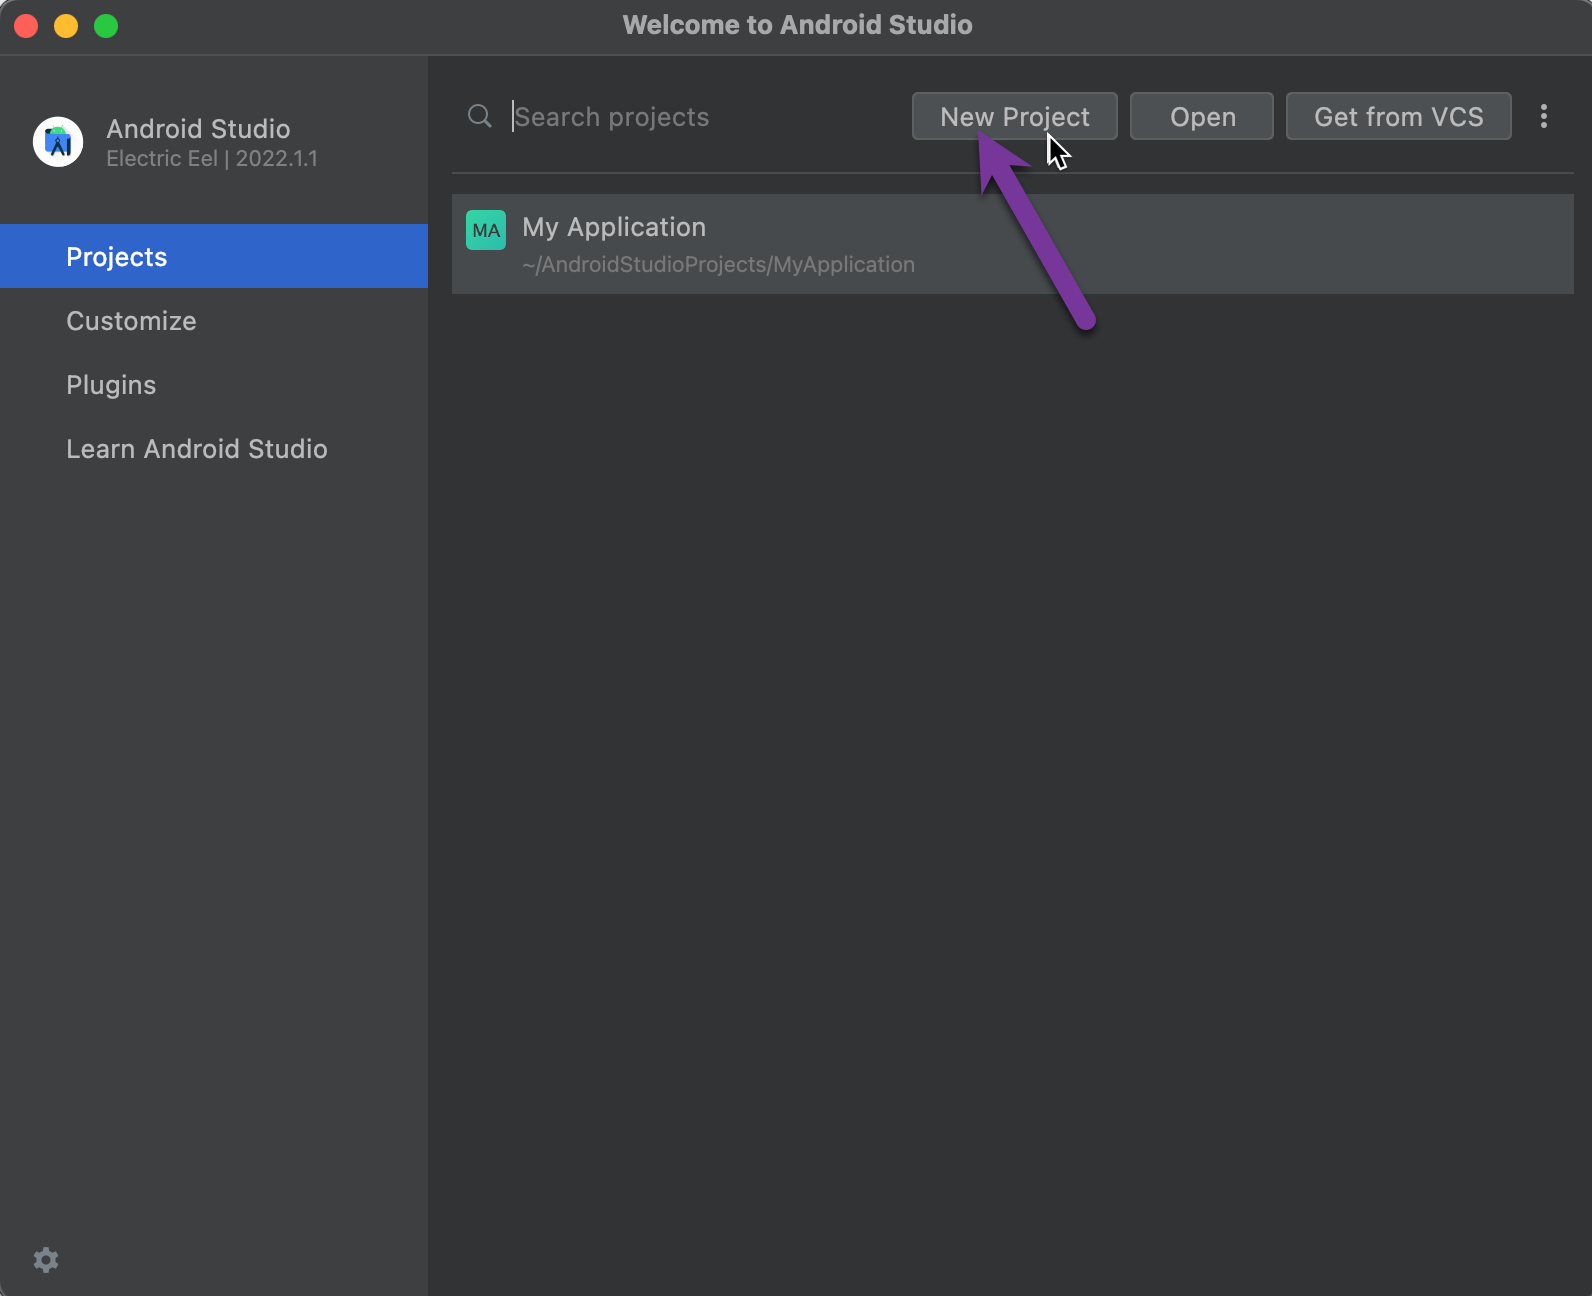
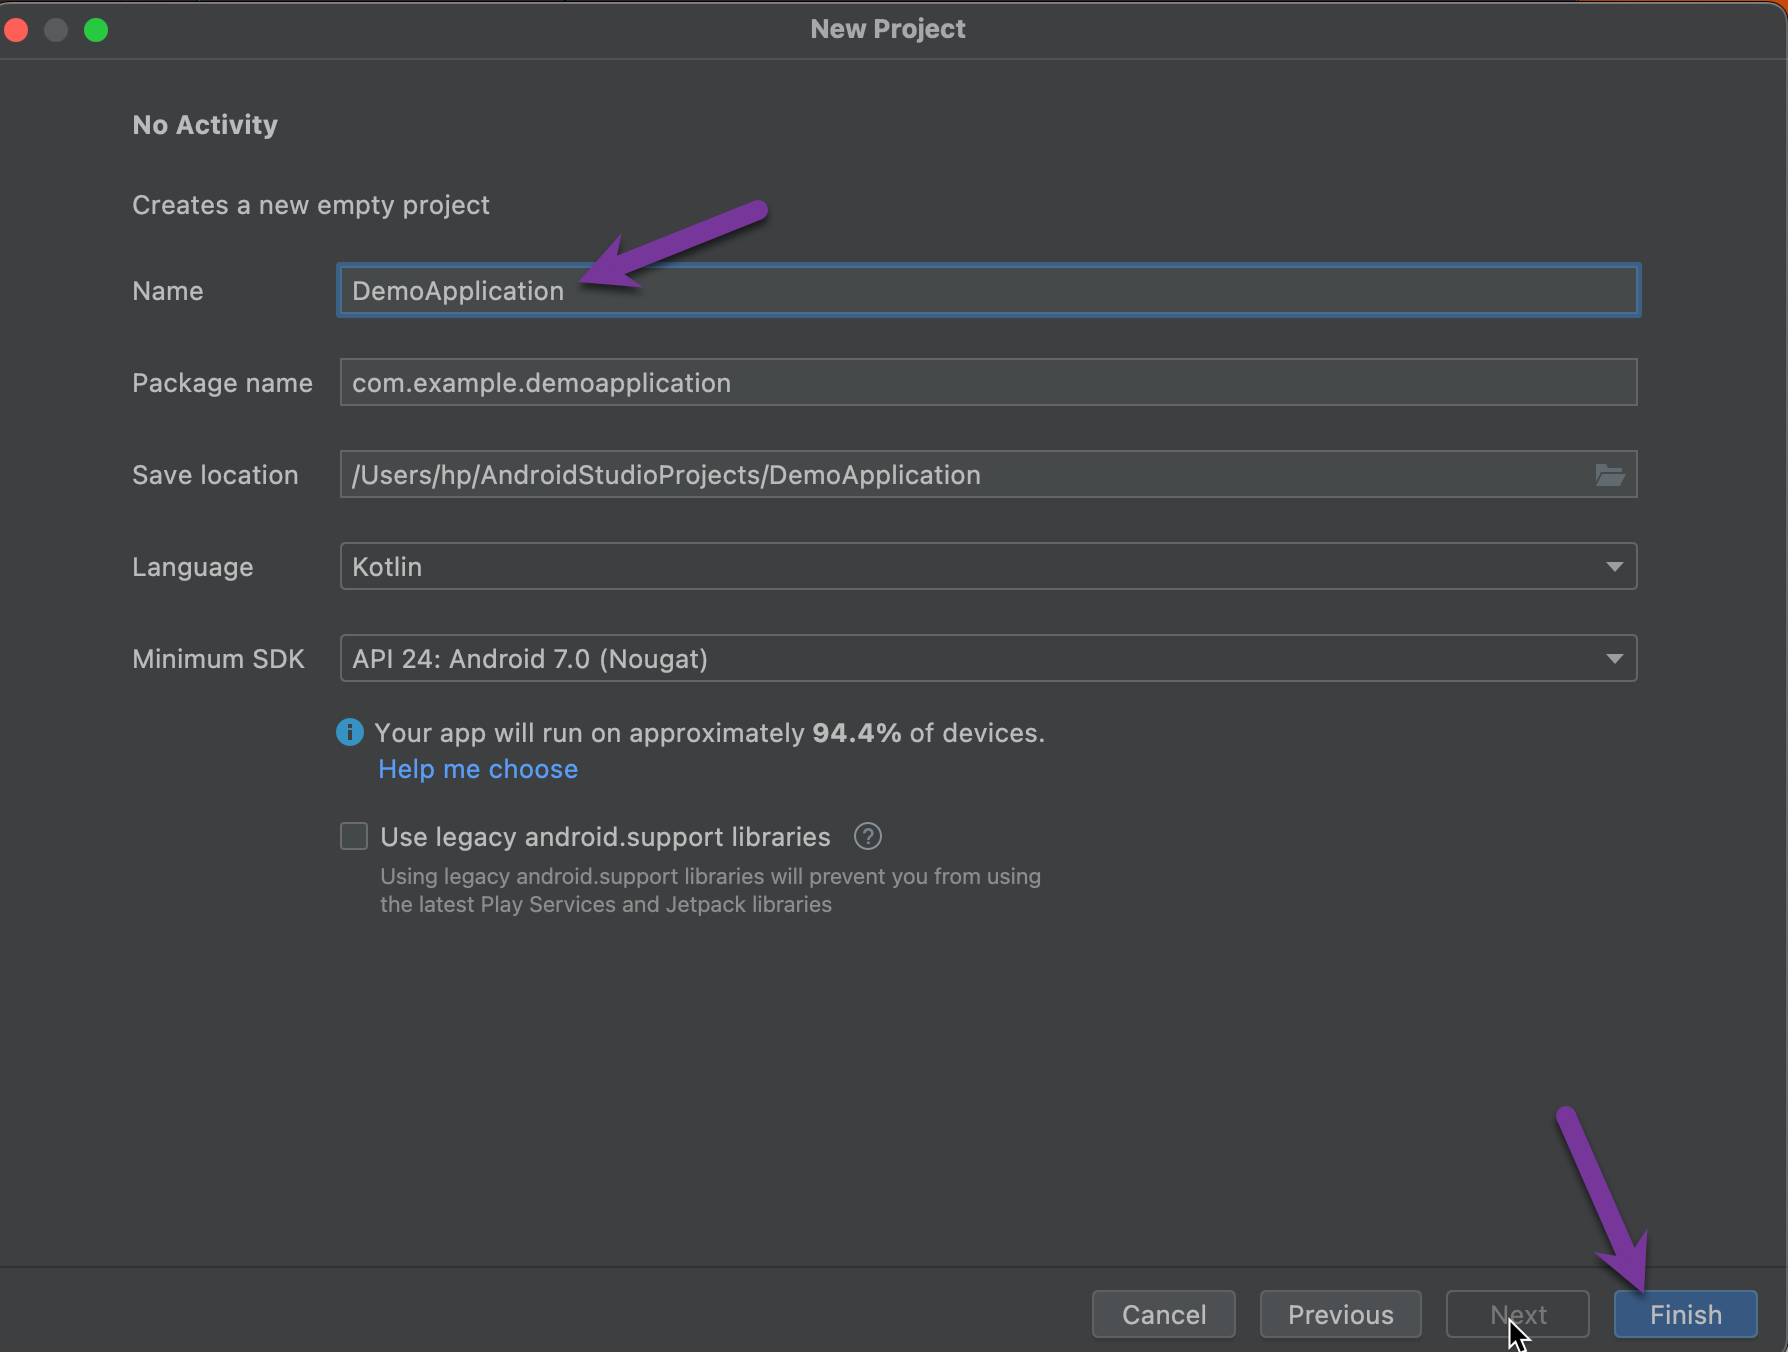
After clicking on the "Finish" button, when you project is visible on the left panel check if you can view "Tools" > "Device Manager"
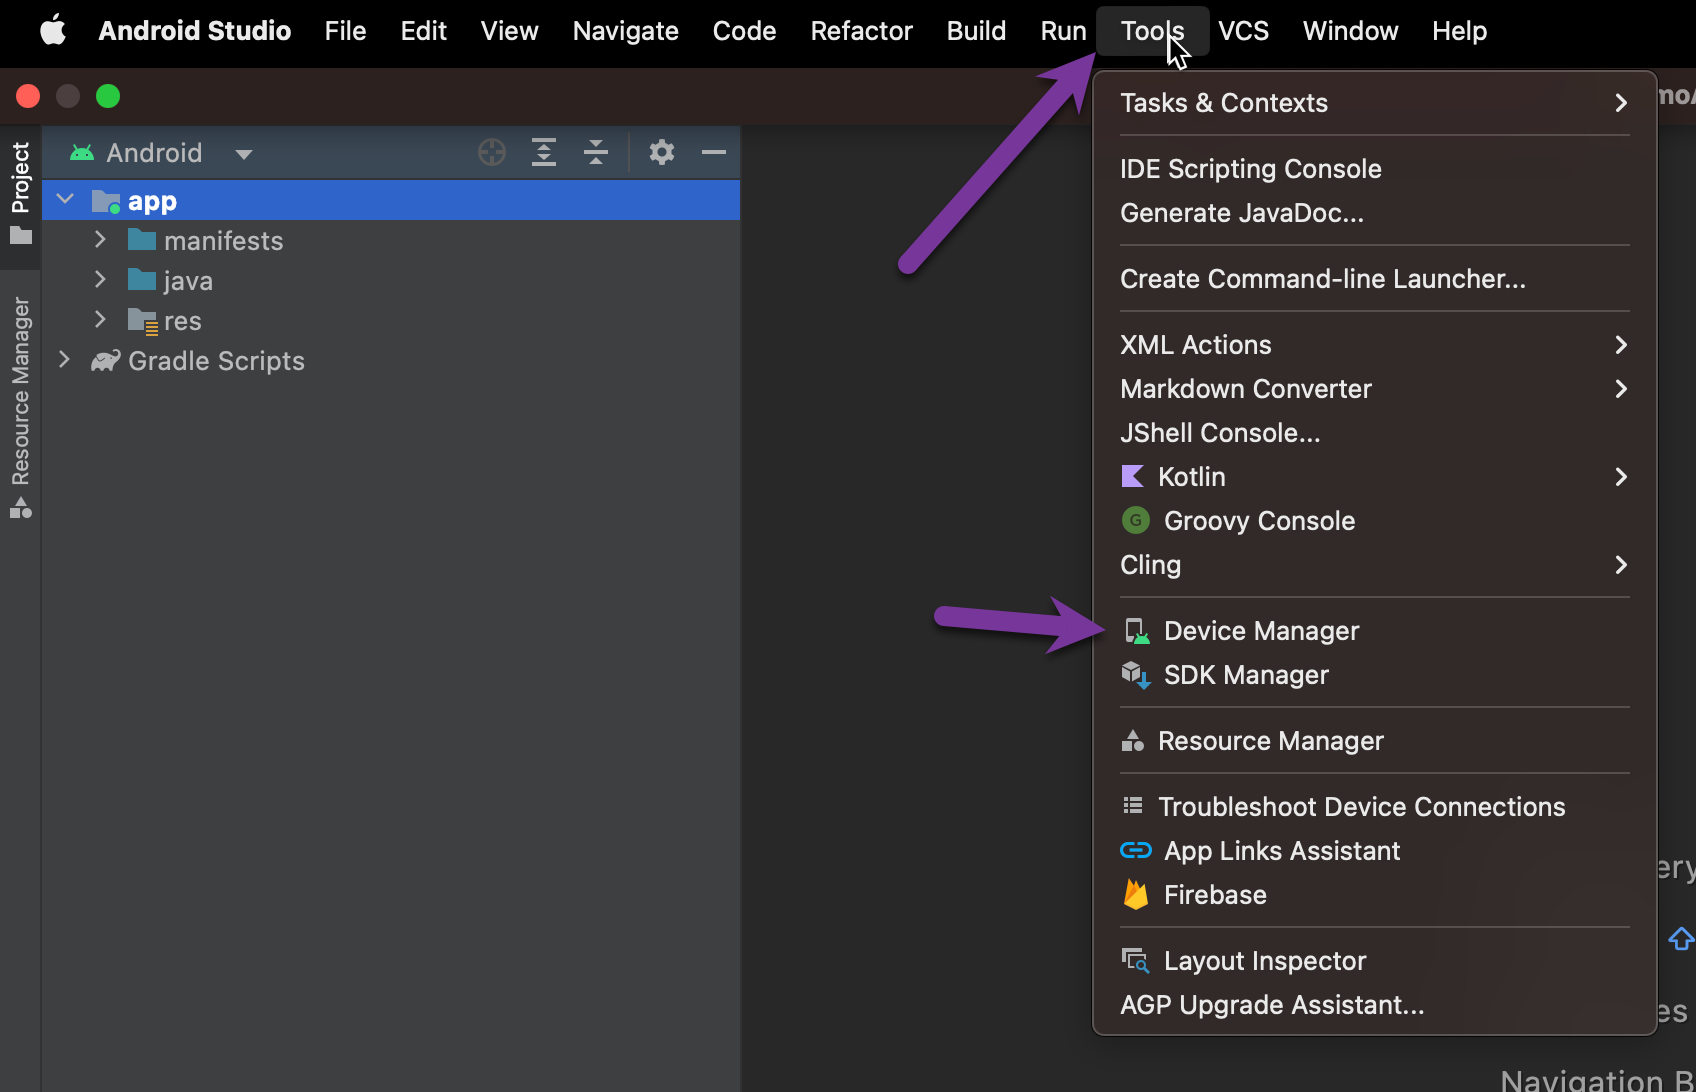
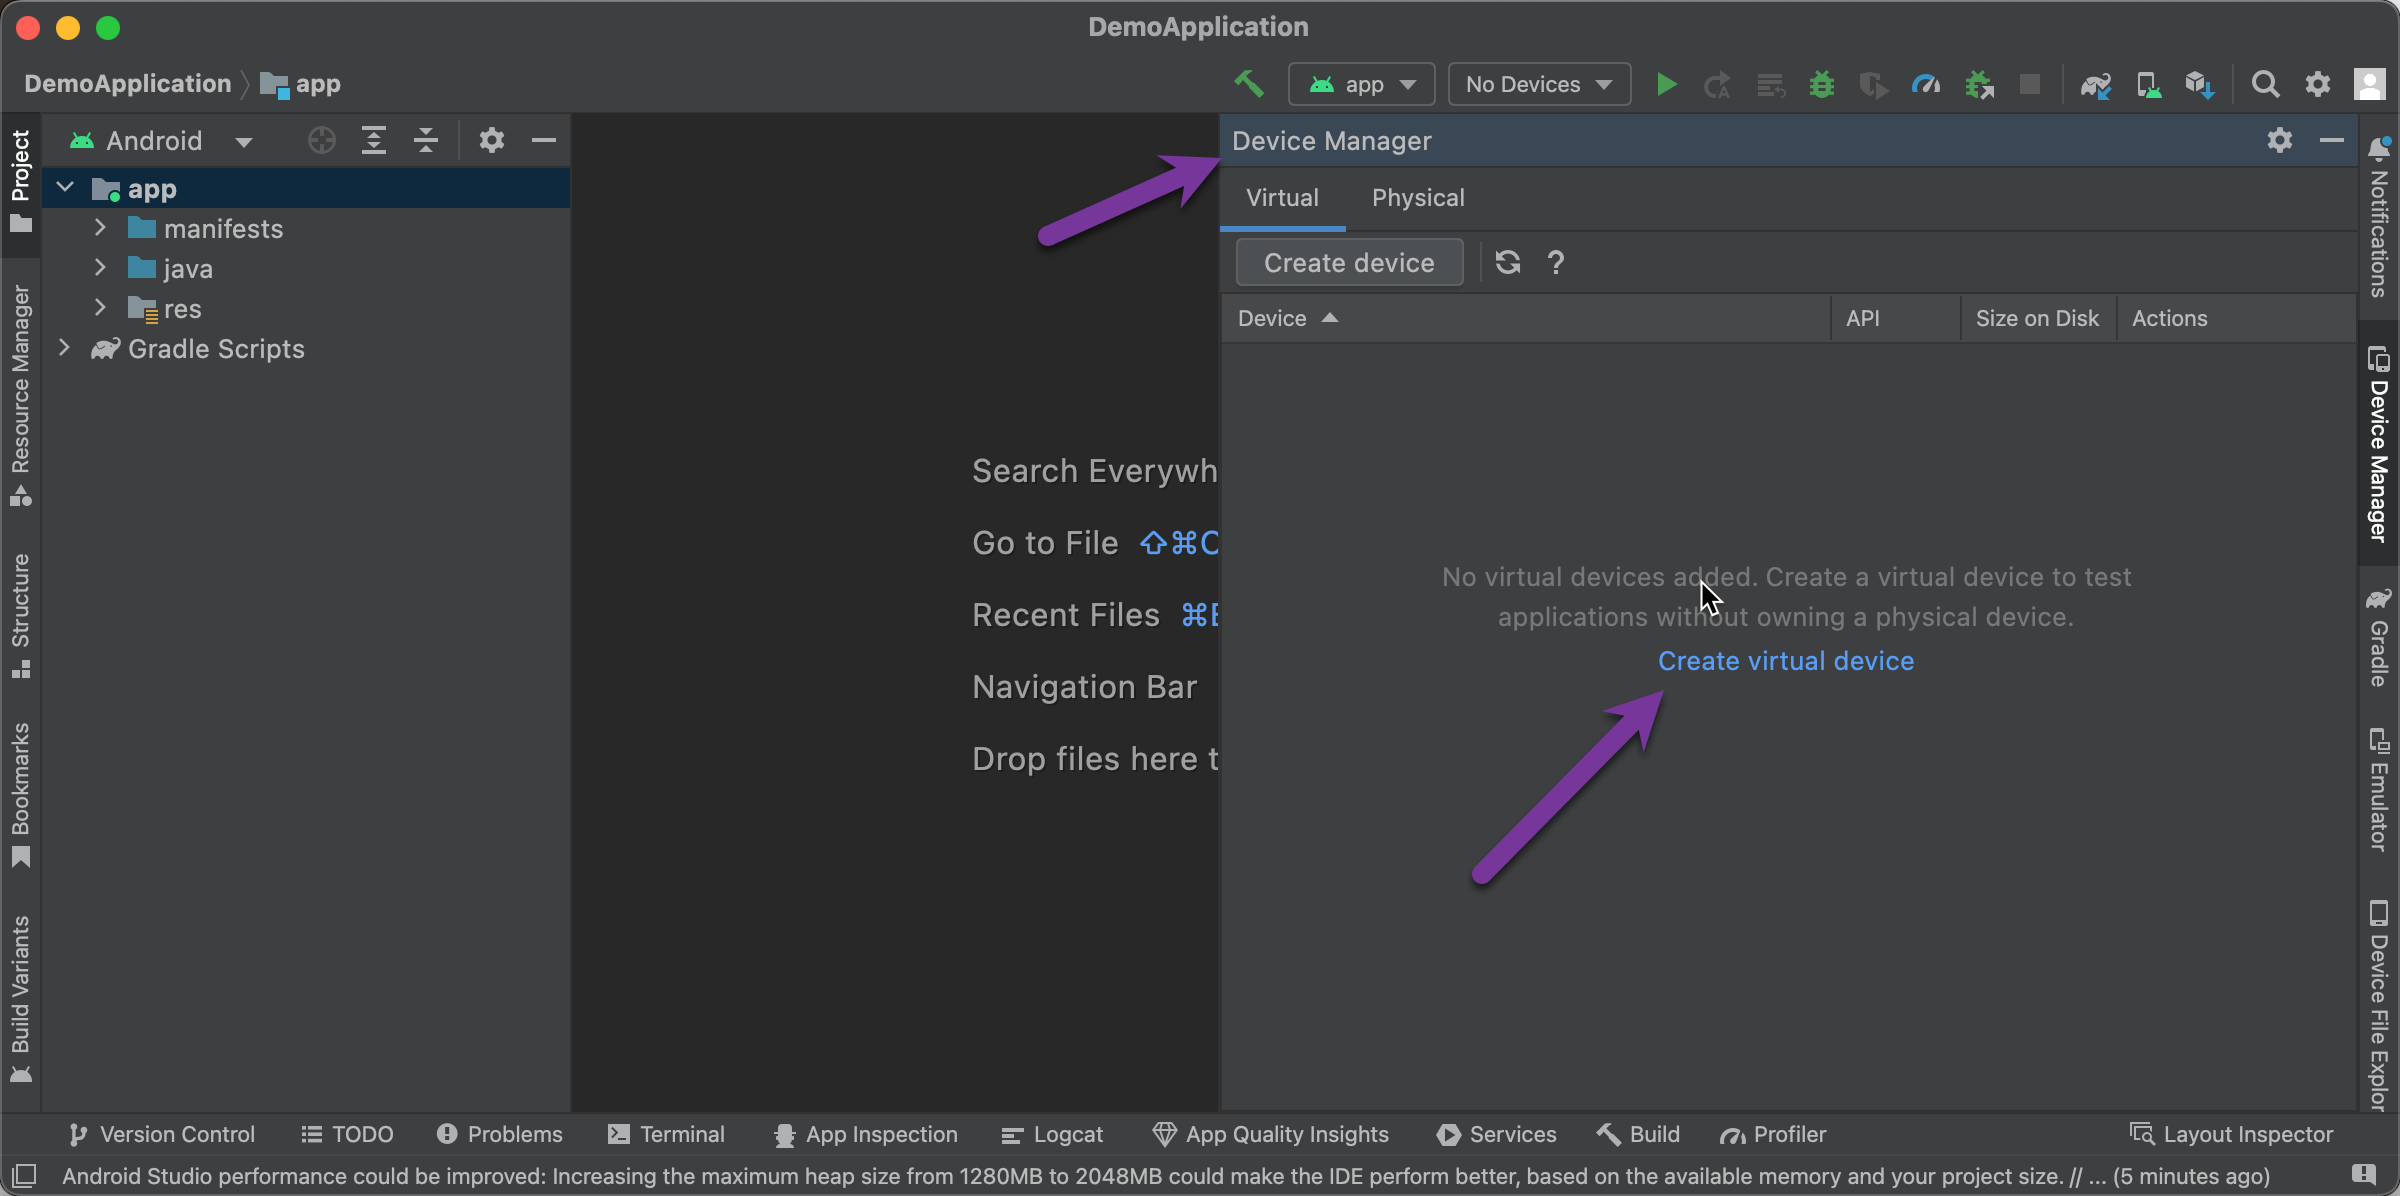
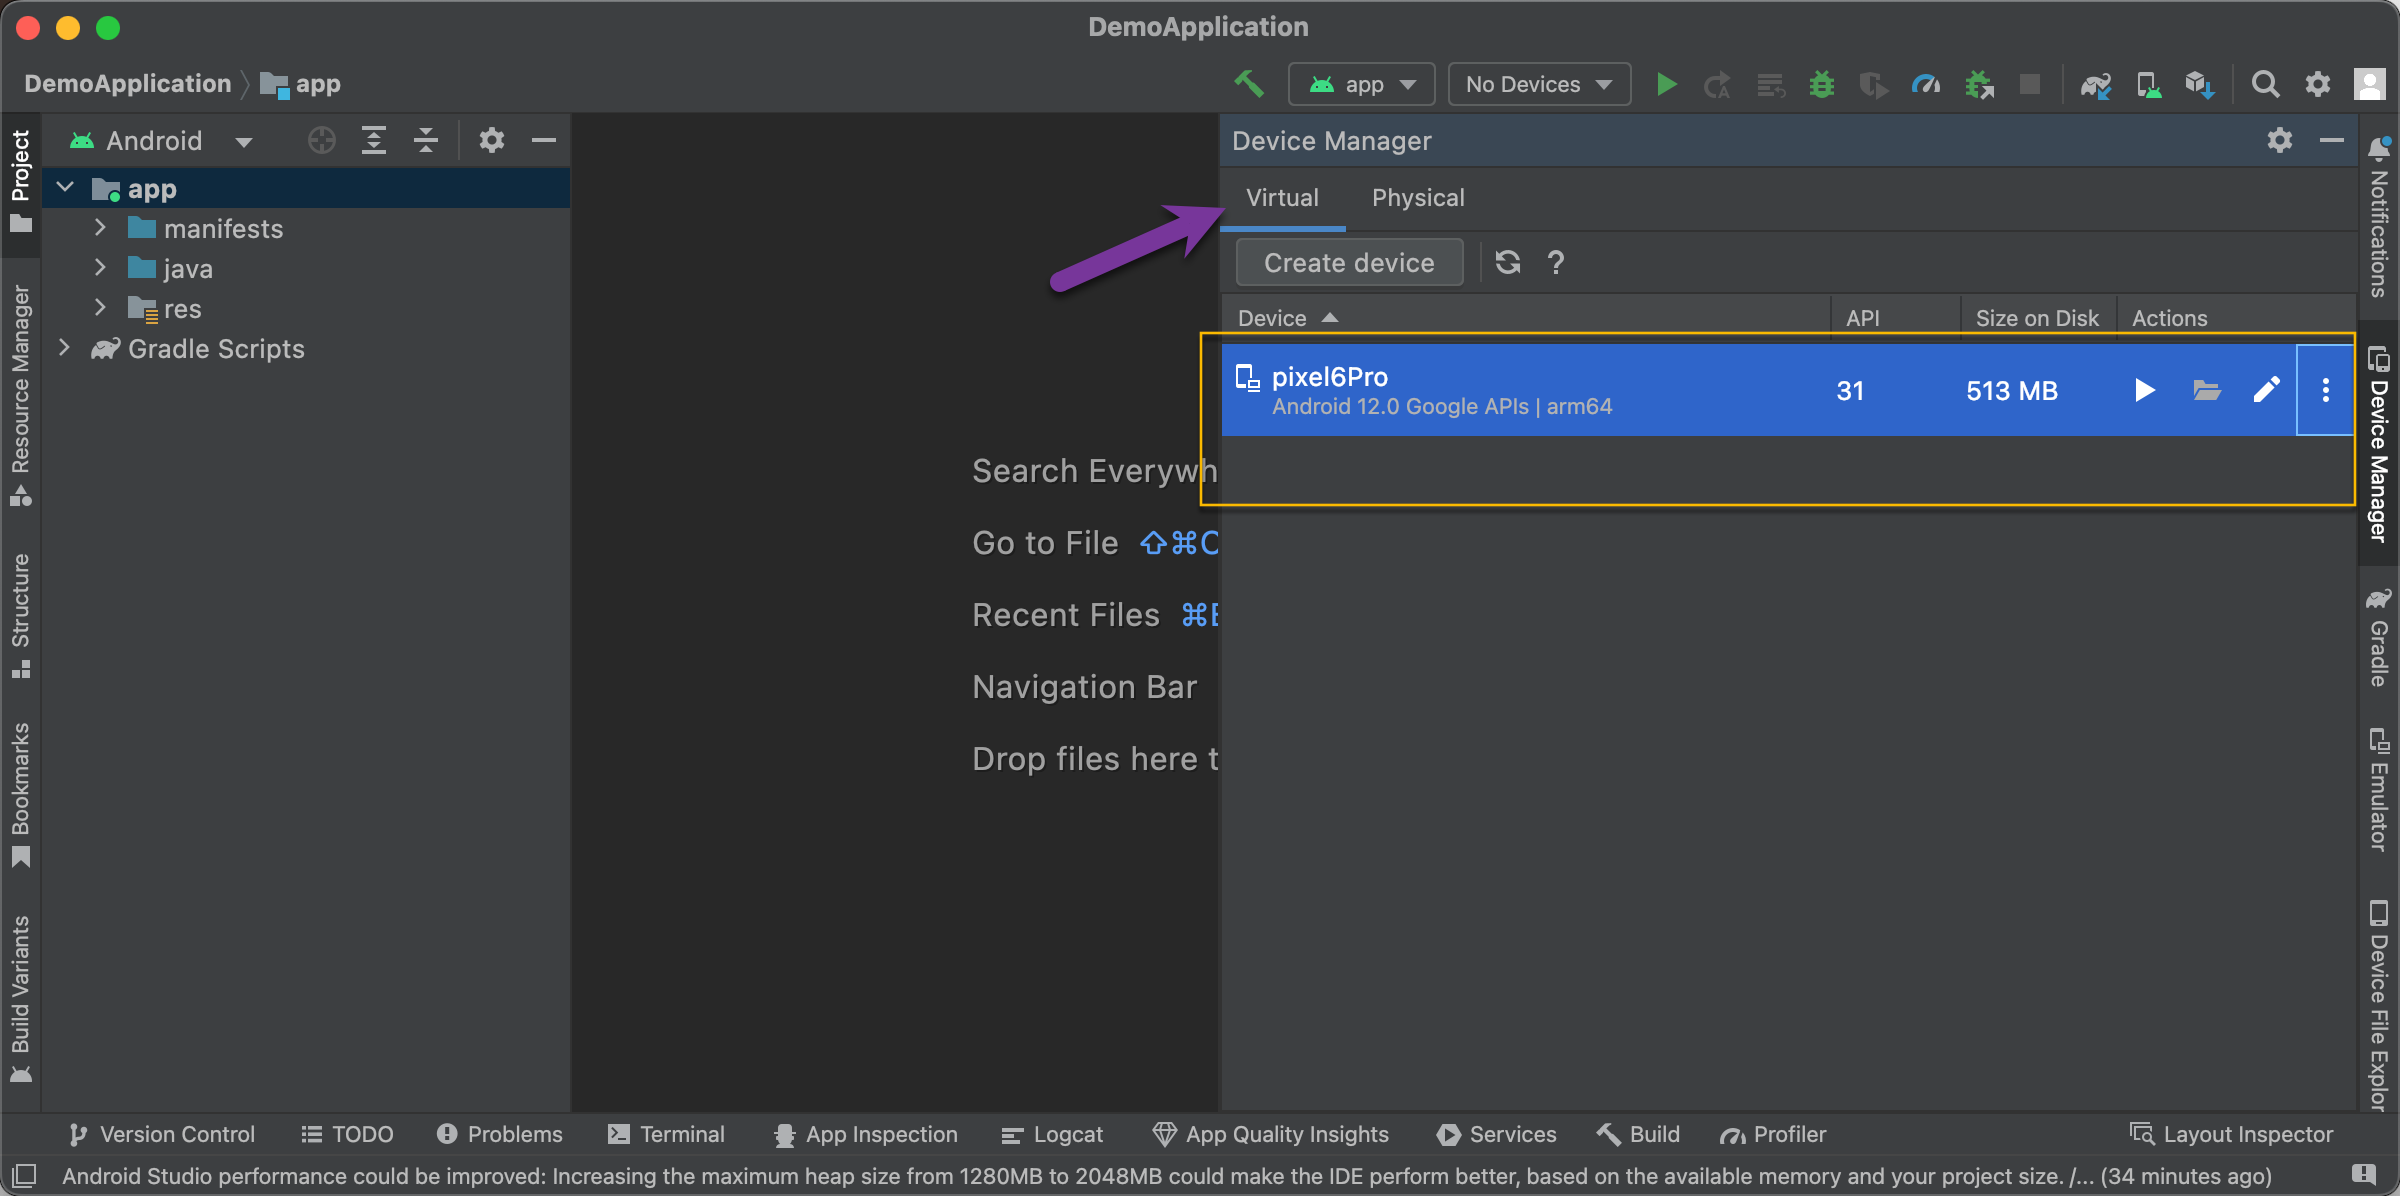
1.2 Launch Device Manager
Launch Tools >> Device Manager and Click on "Create virtual device" to start creating the Android Emulator
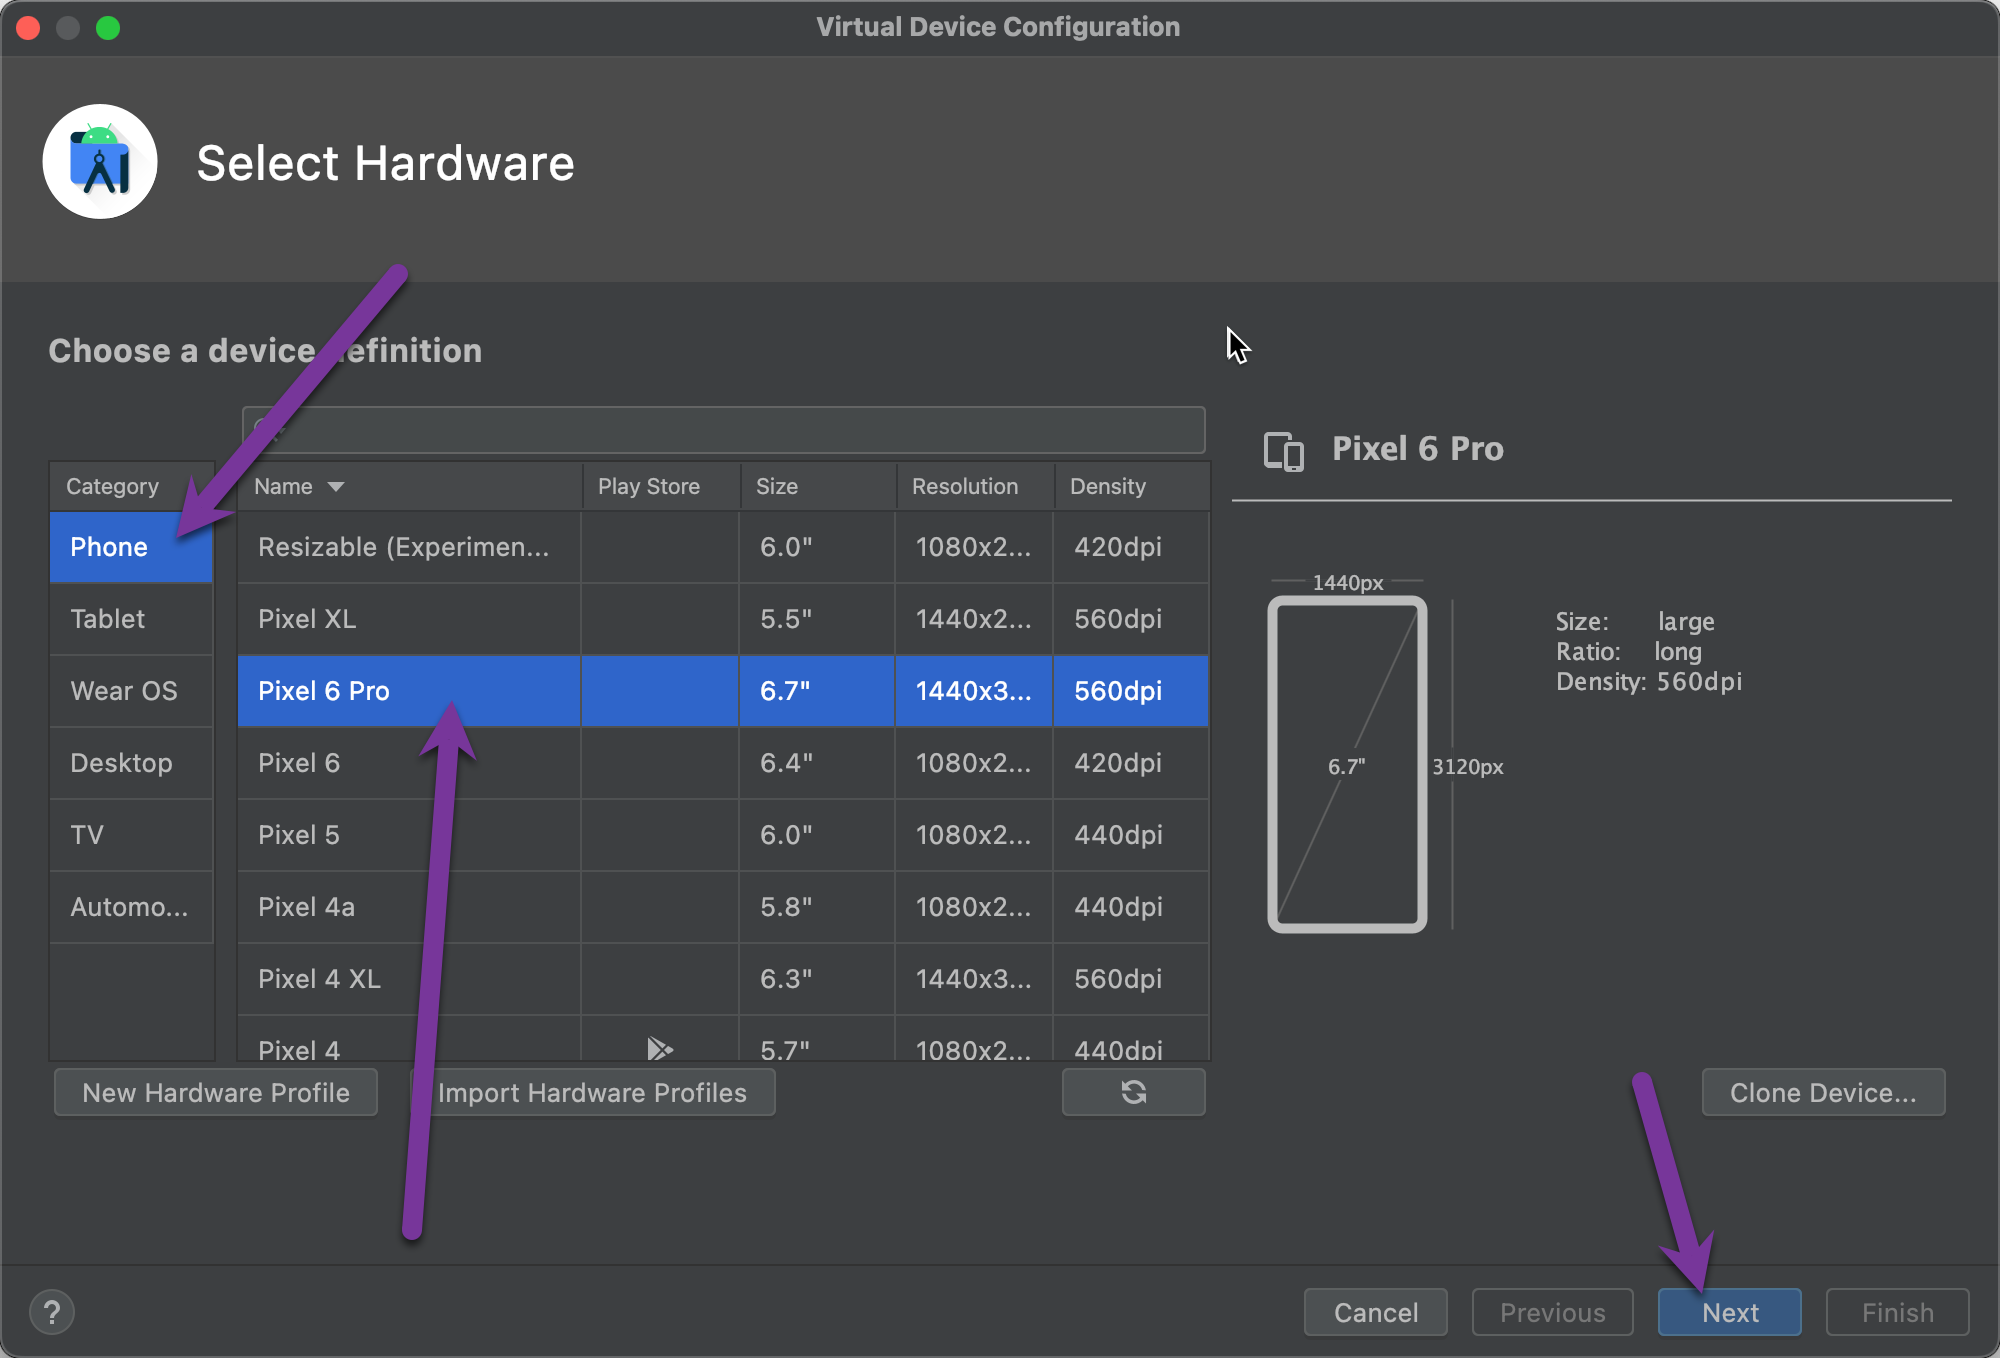
Choose Device type and click Next
Choose Android version and click Next. Note that at this Step, download of image is going to happen

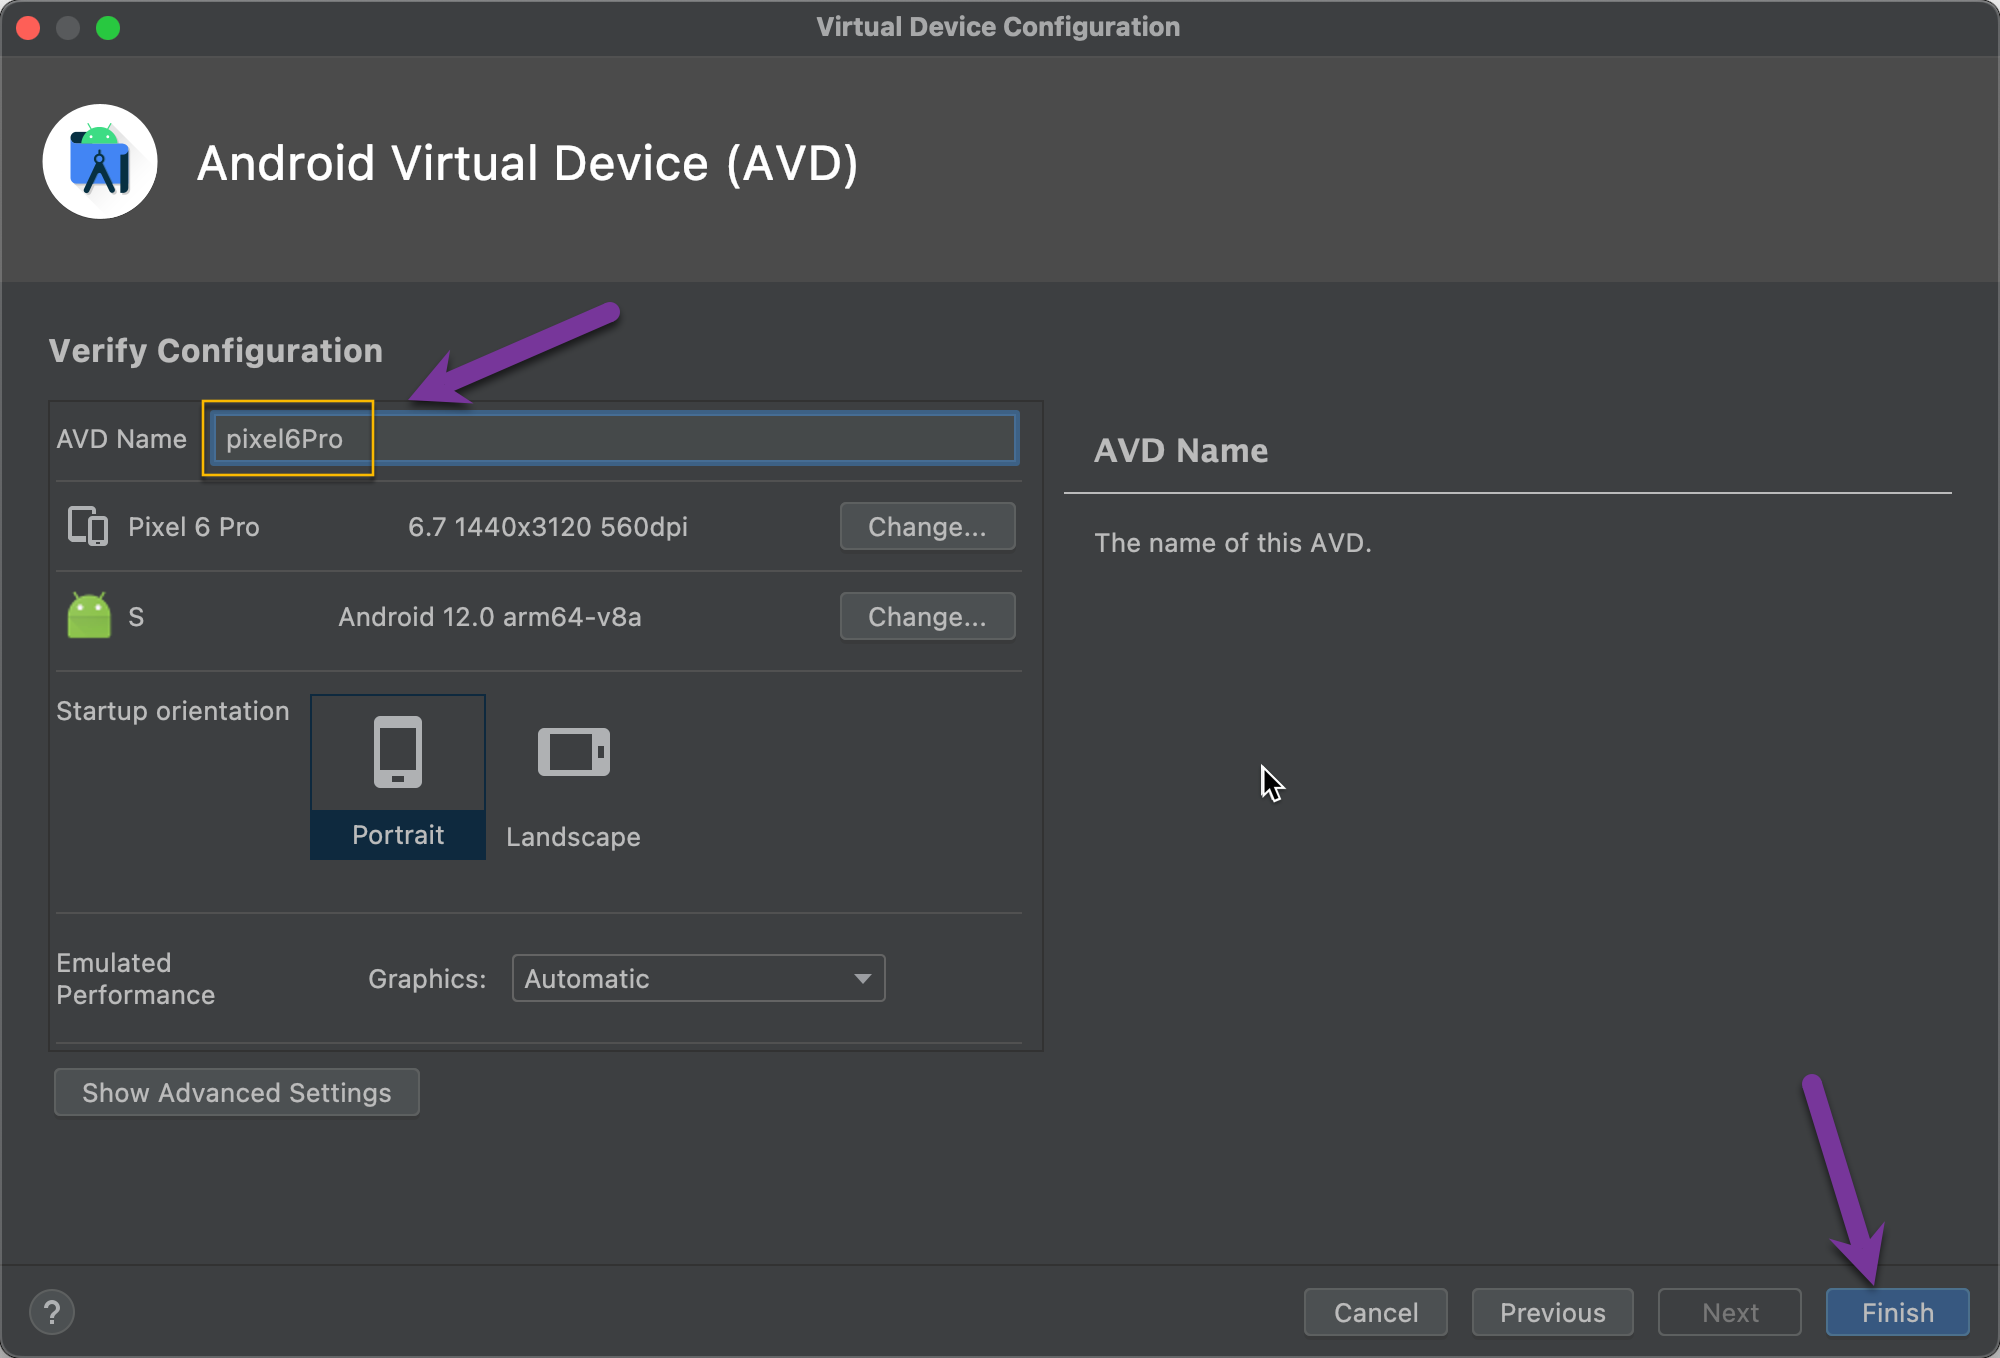
Give your device a name and click Next
You should see the device you have under "Device Manager"
1.3 Starting the virtual device
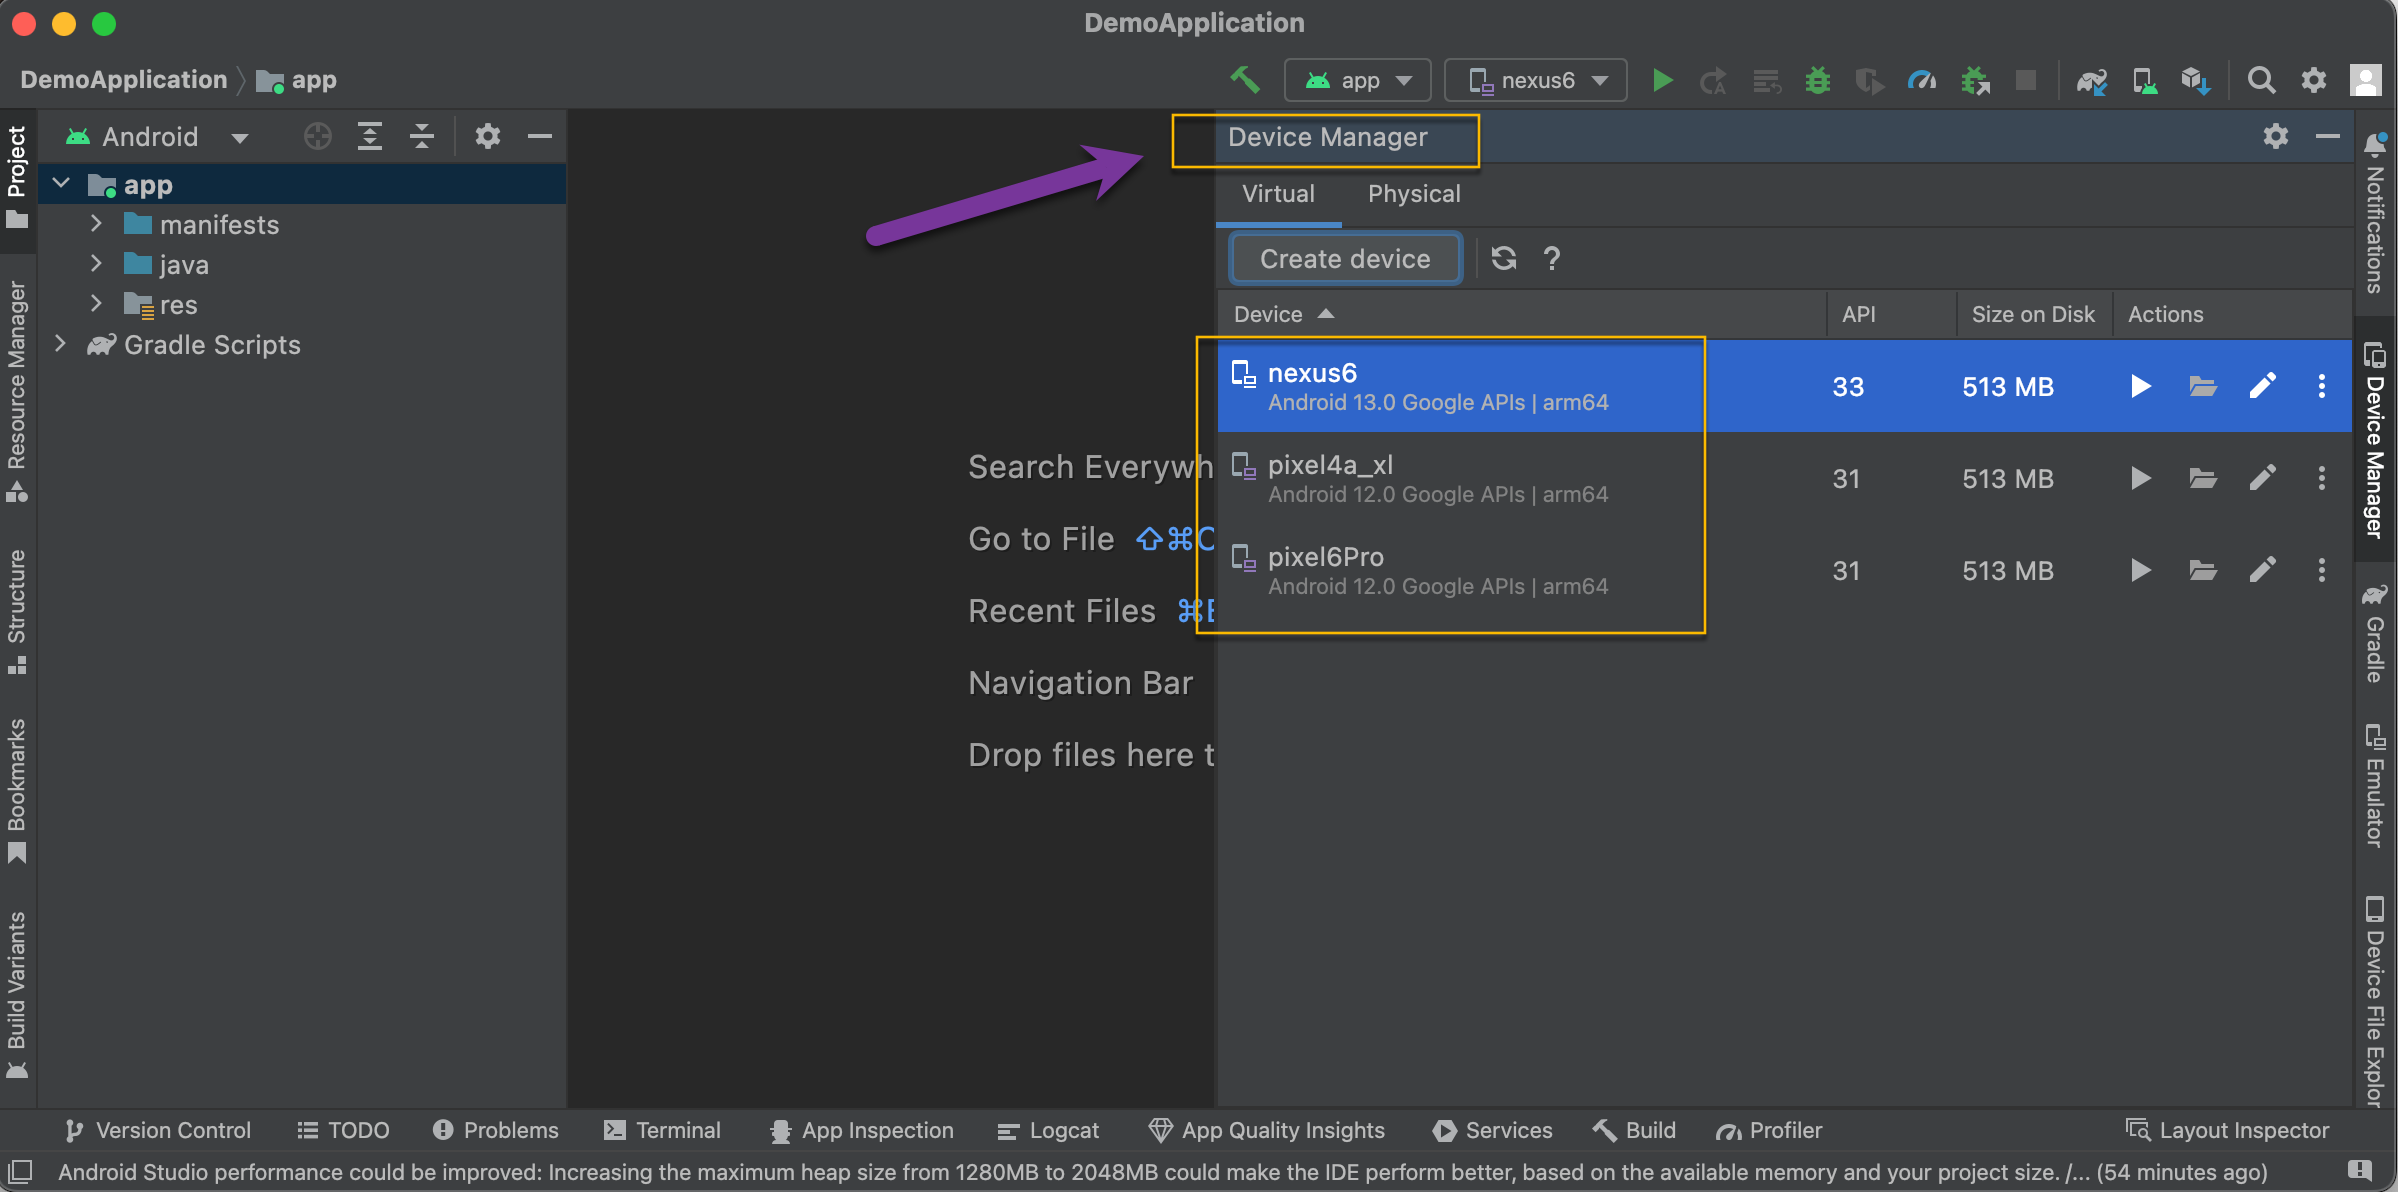
Following the above mentioned steps you can create as many devices as required
Let's say you wanted 3 combinations of Device and Android OS
Pixel 6 Pro with Android 12
Pixel 4 XL with Android 12
Nexus 6 with Android 13
This is how you would see in under "Device Manager"
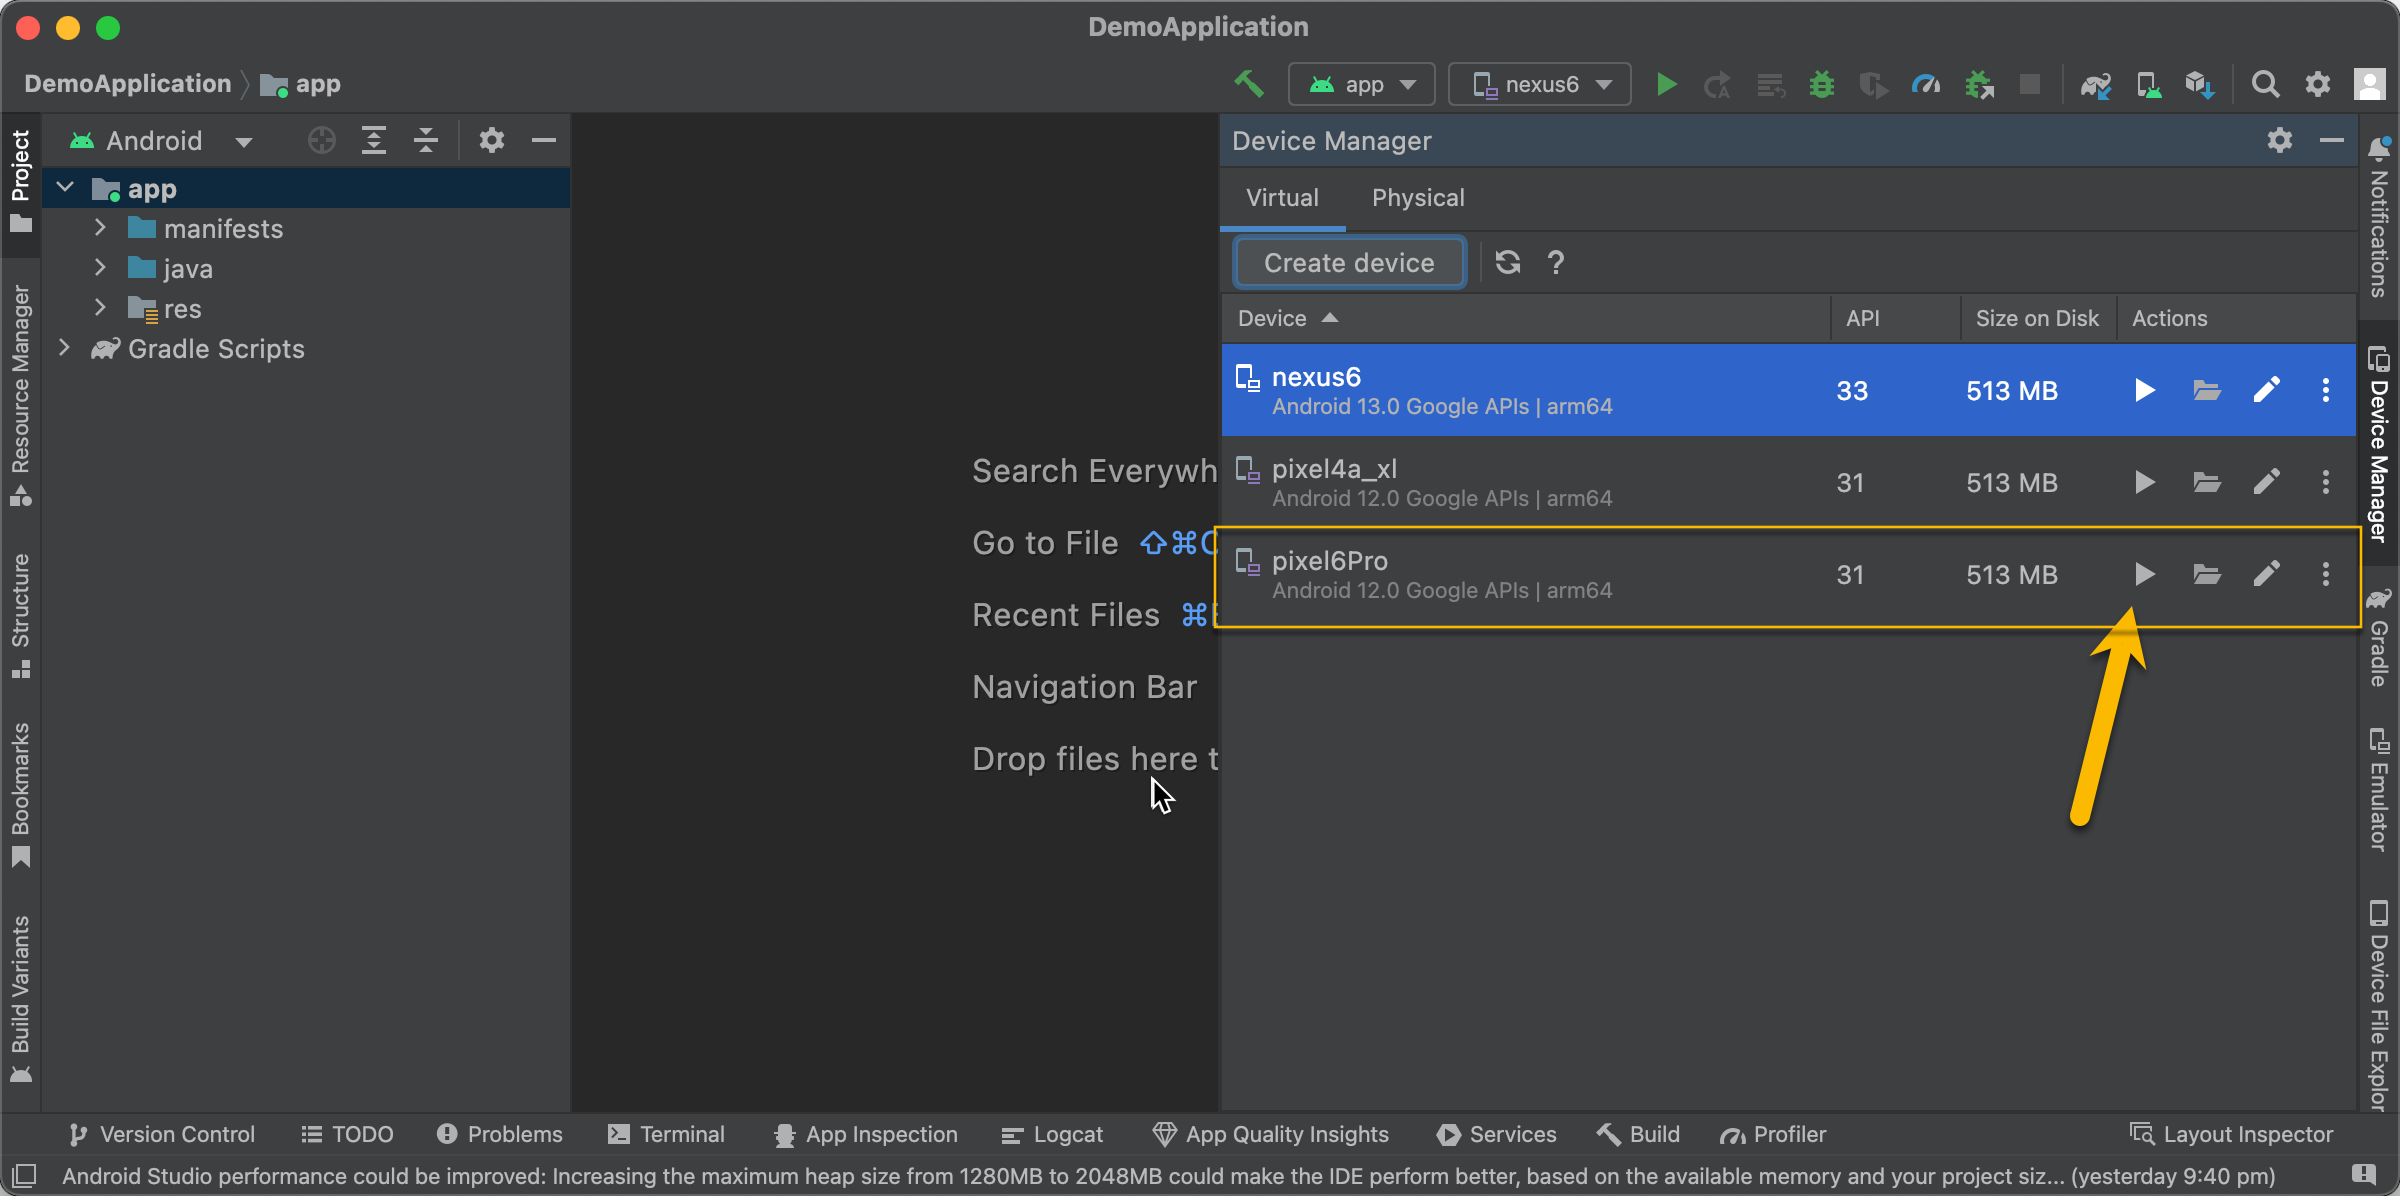
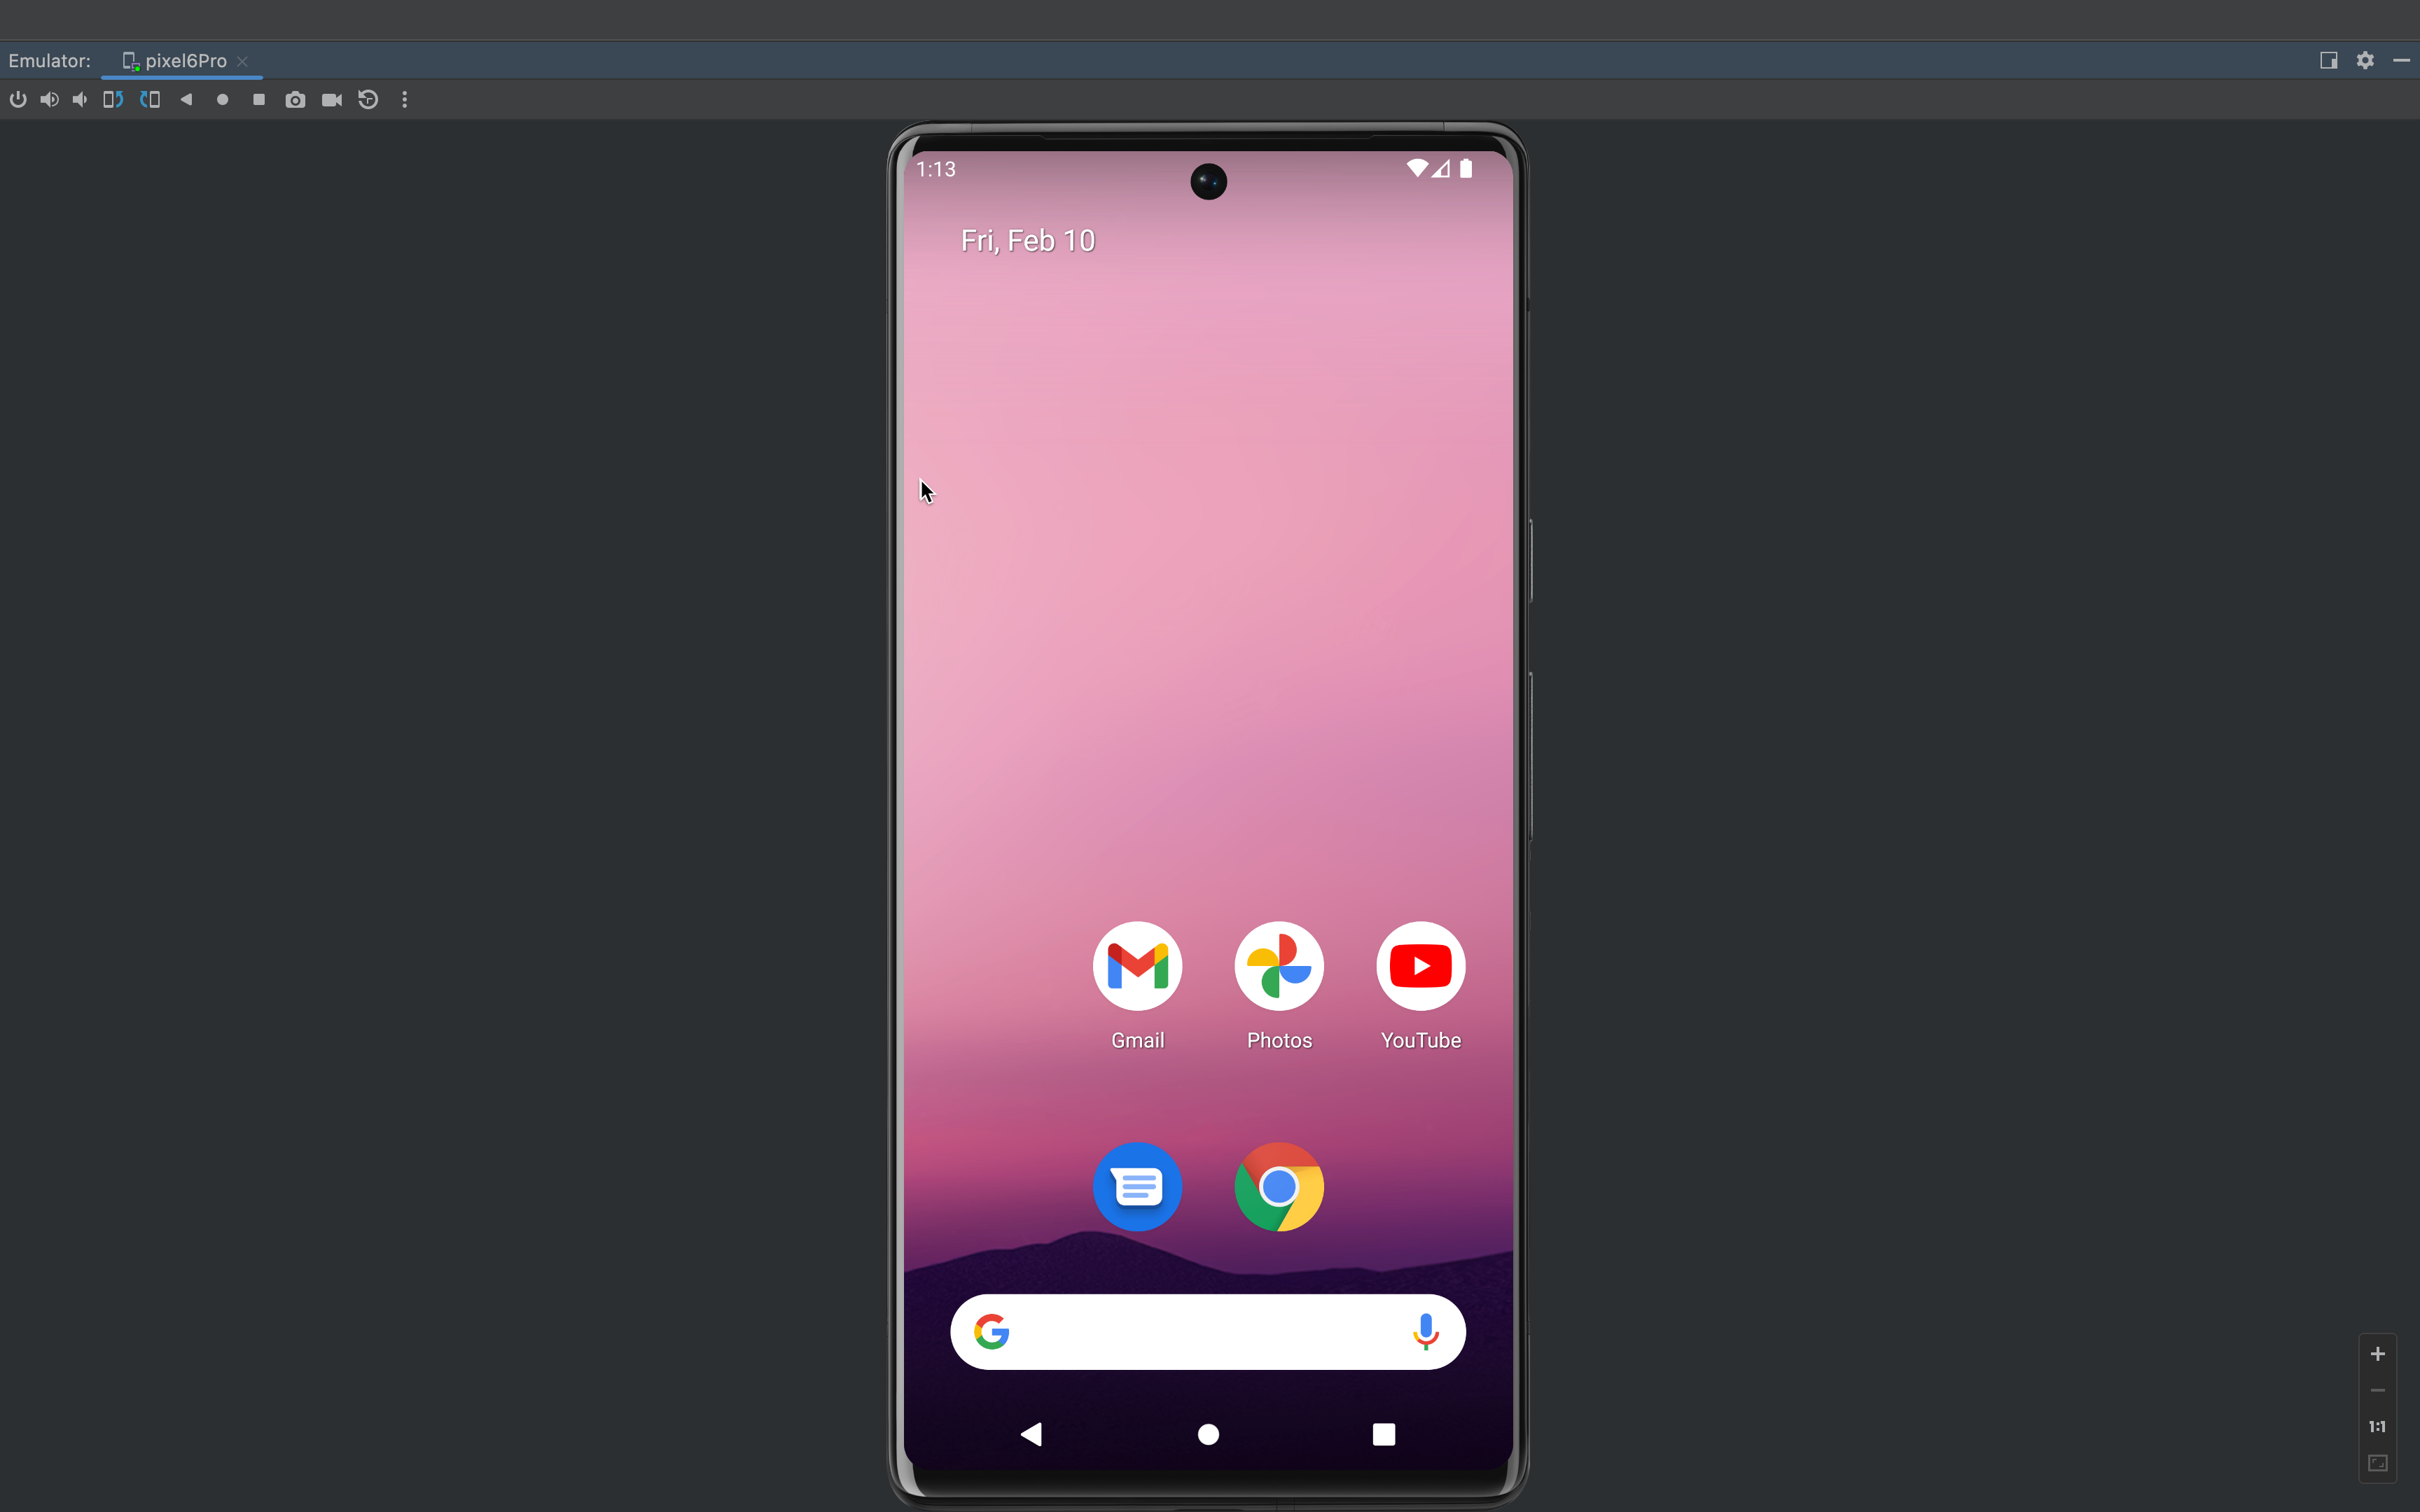
To start the Virtual device say "pixel6Pro" click play as show below:
This would launch the device name pixel6pro in the Emulator , you can pop it out in a separate window
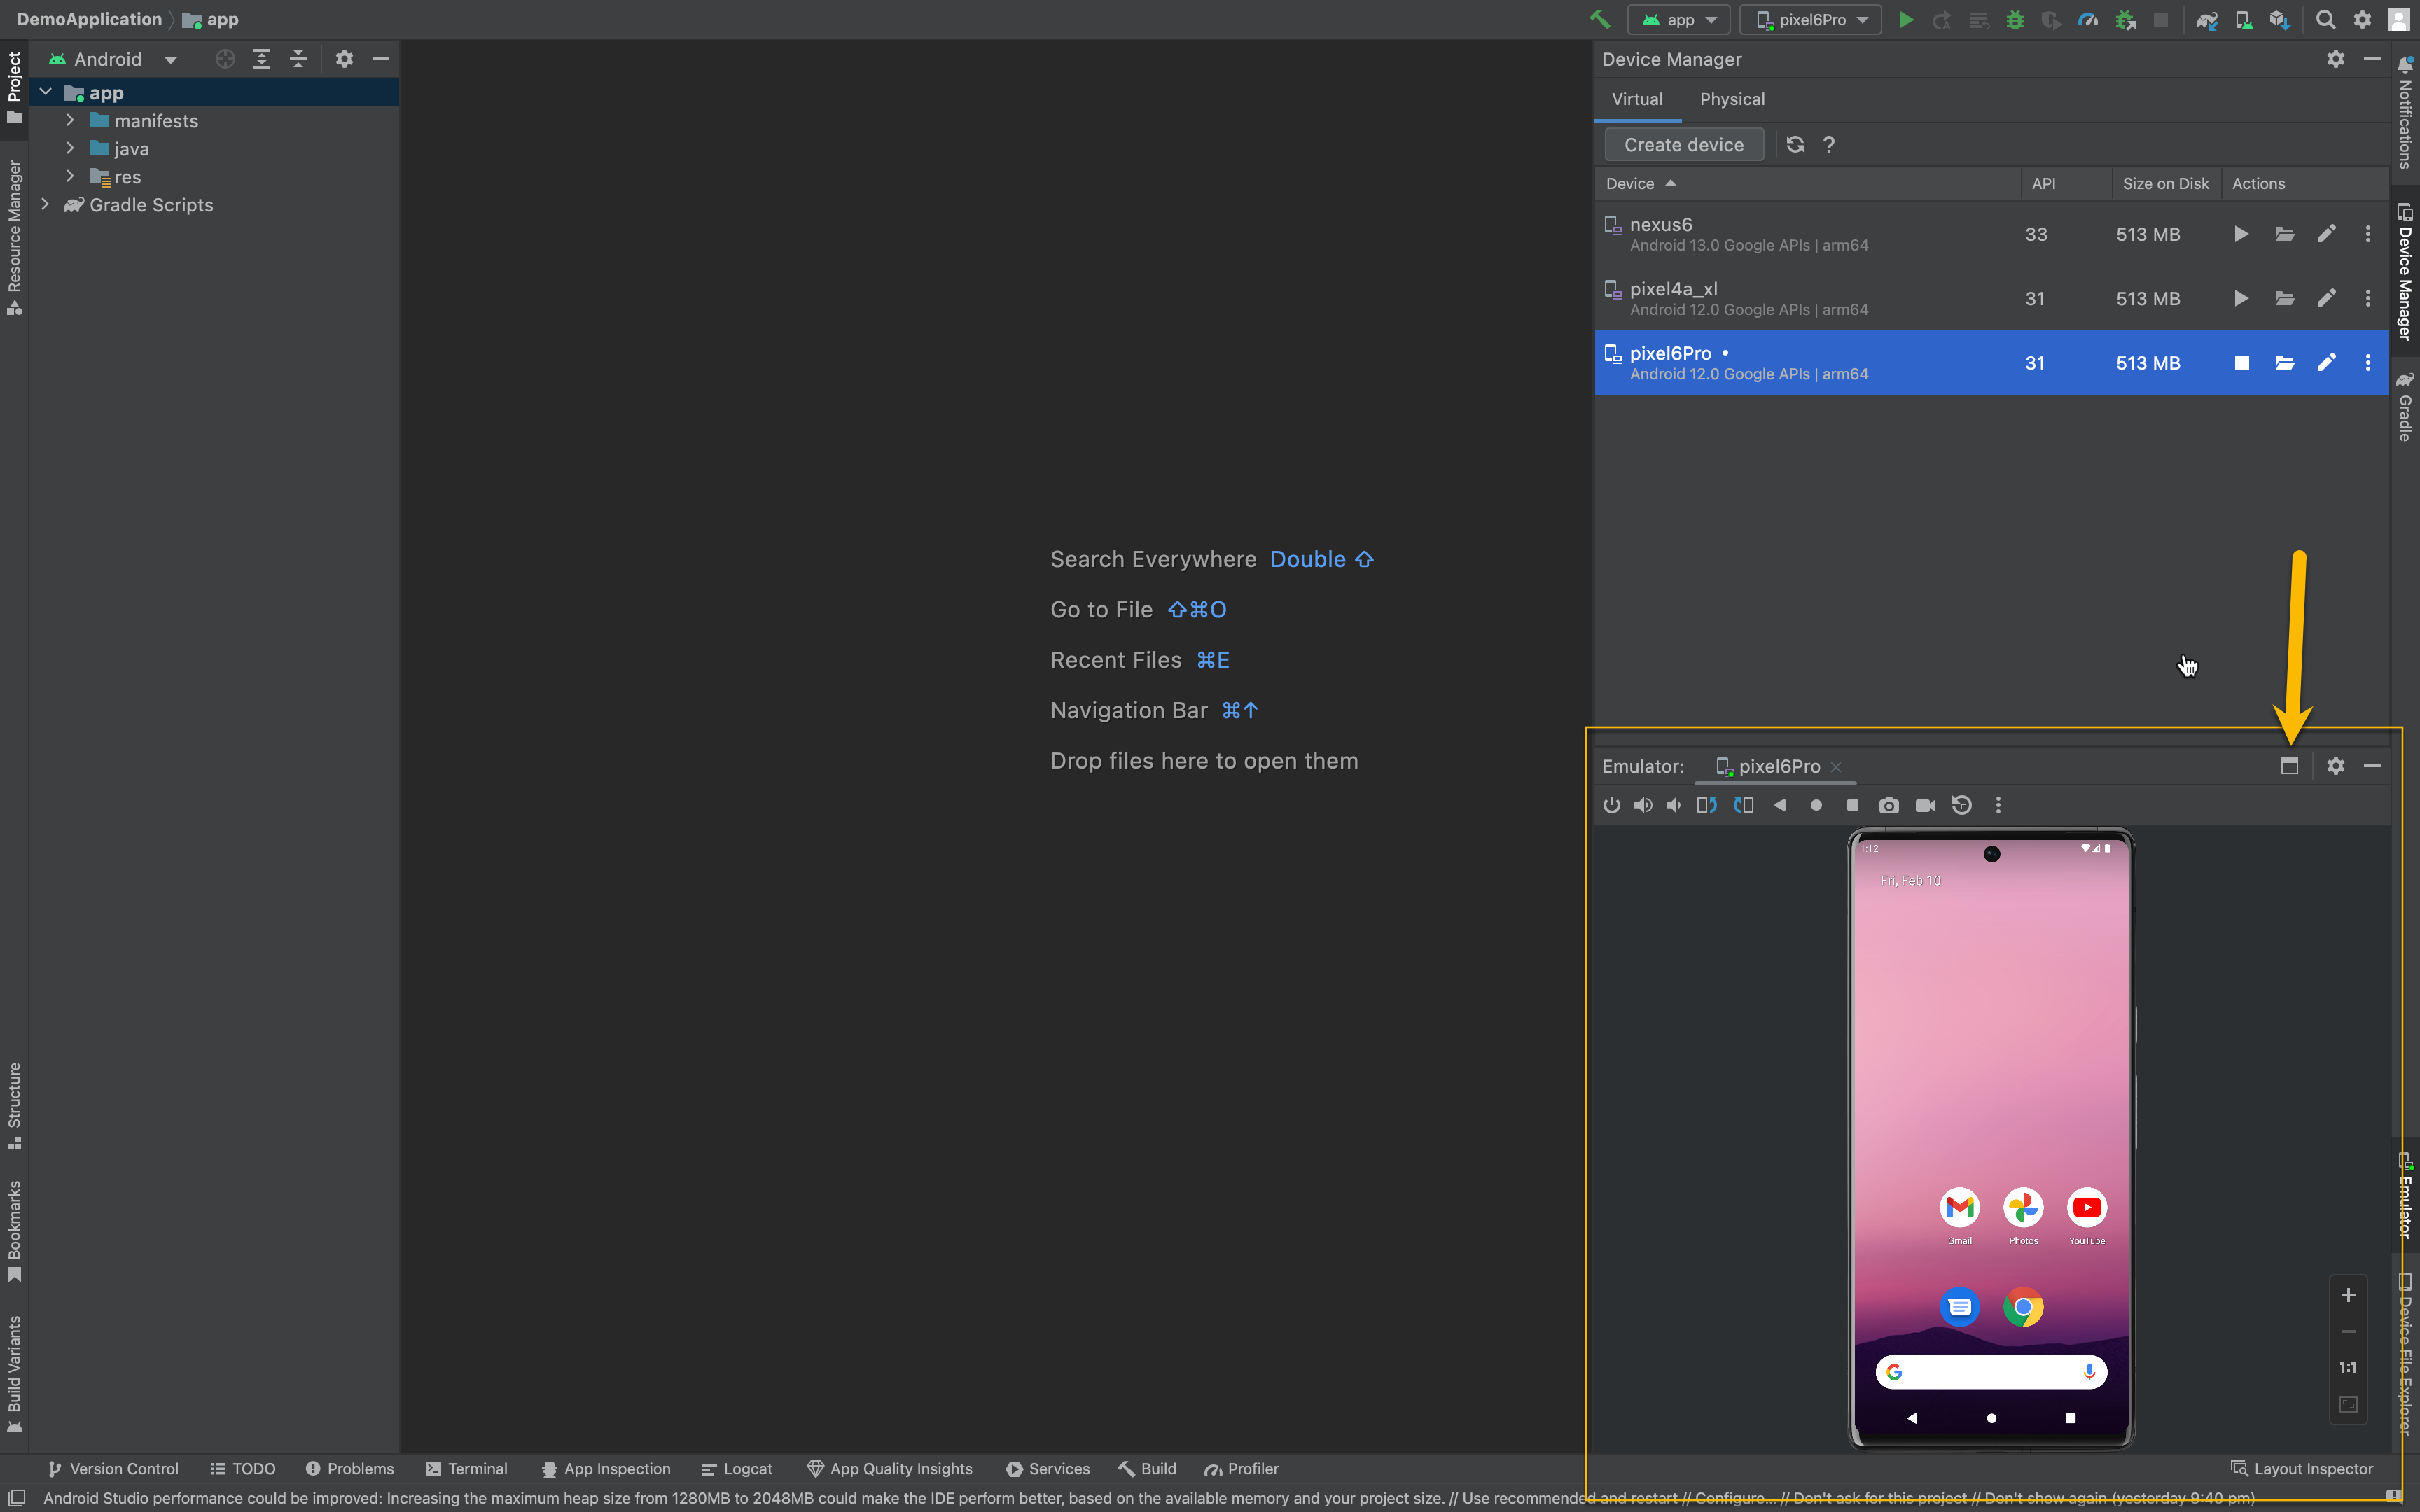
Emulator View in the full window
2. Open Android virtual devices using cli
a. You have 3 virtual devices setup successfuly with following device names, which you can be launced via Android Studio
nexus6
pixel4a_xl
pixel6Pro
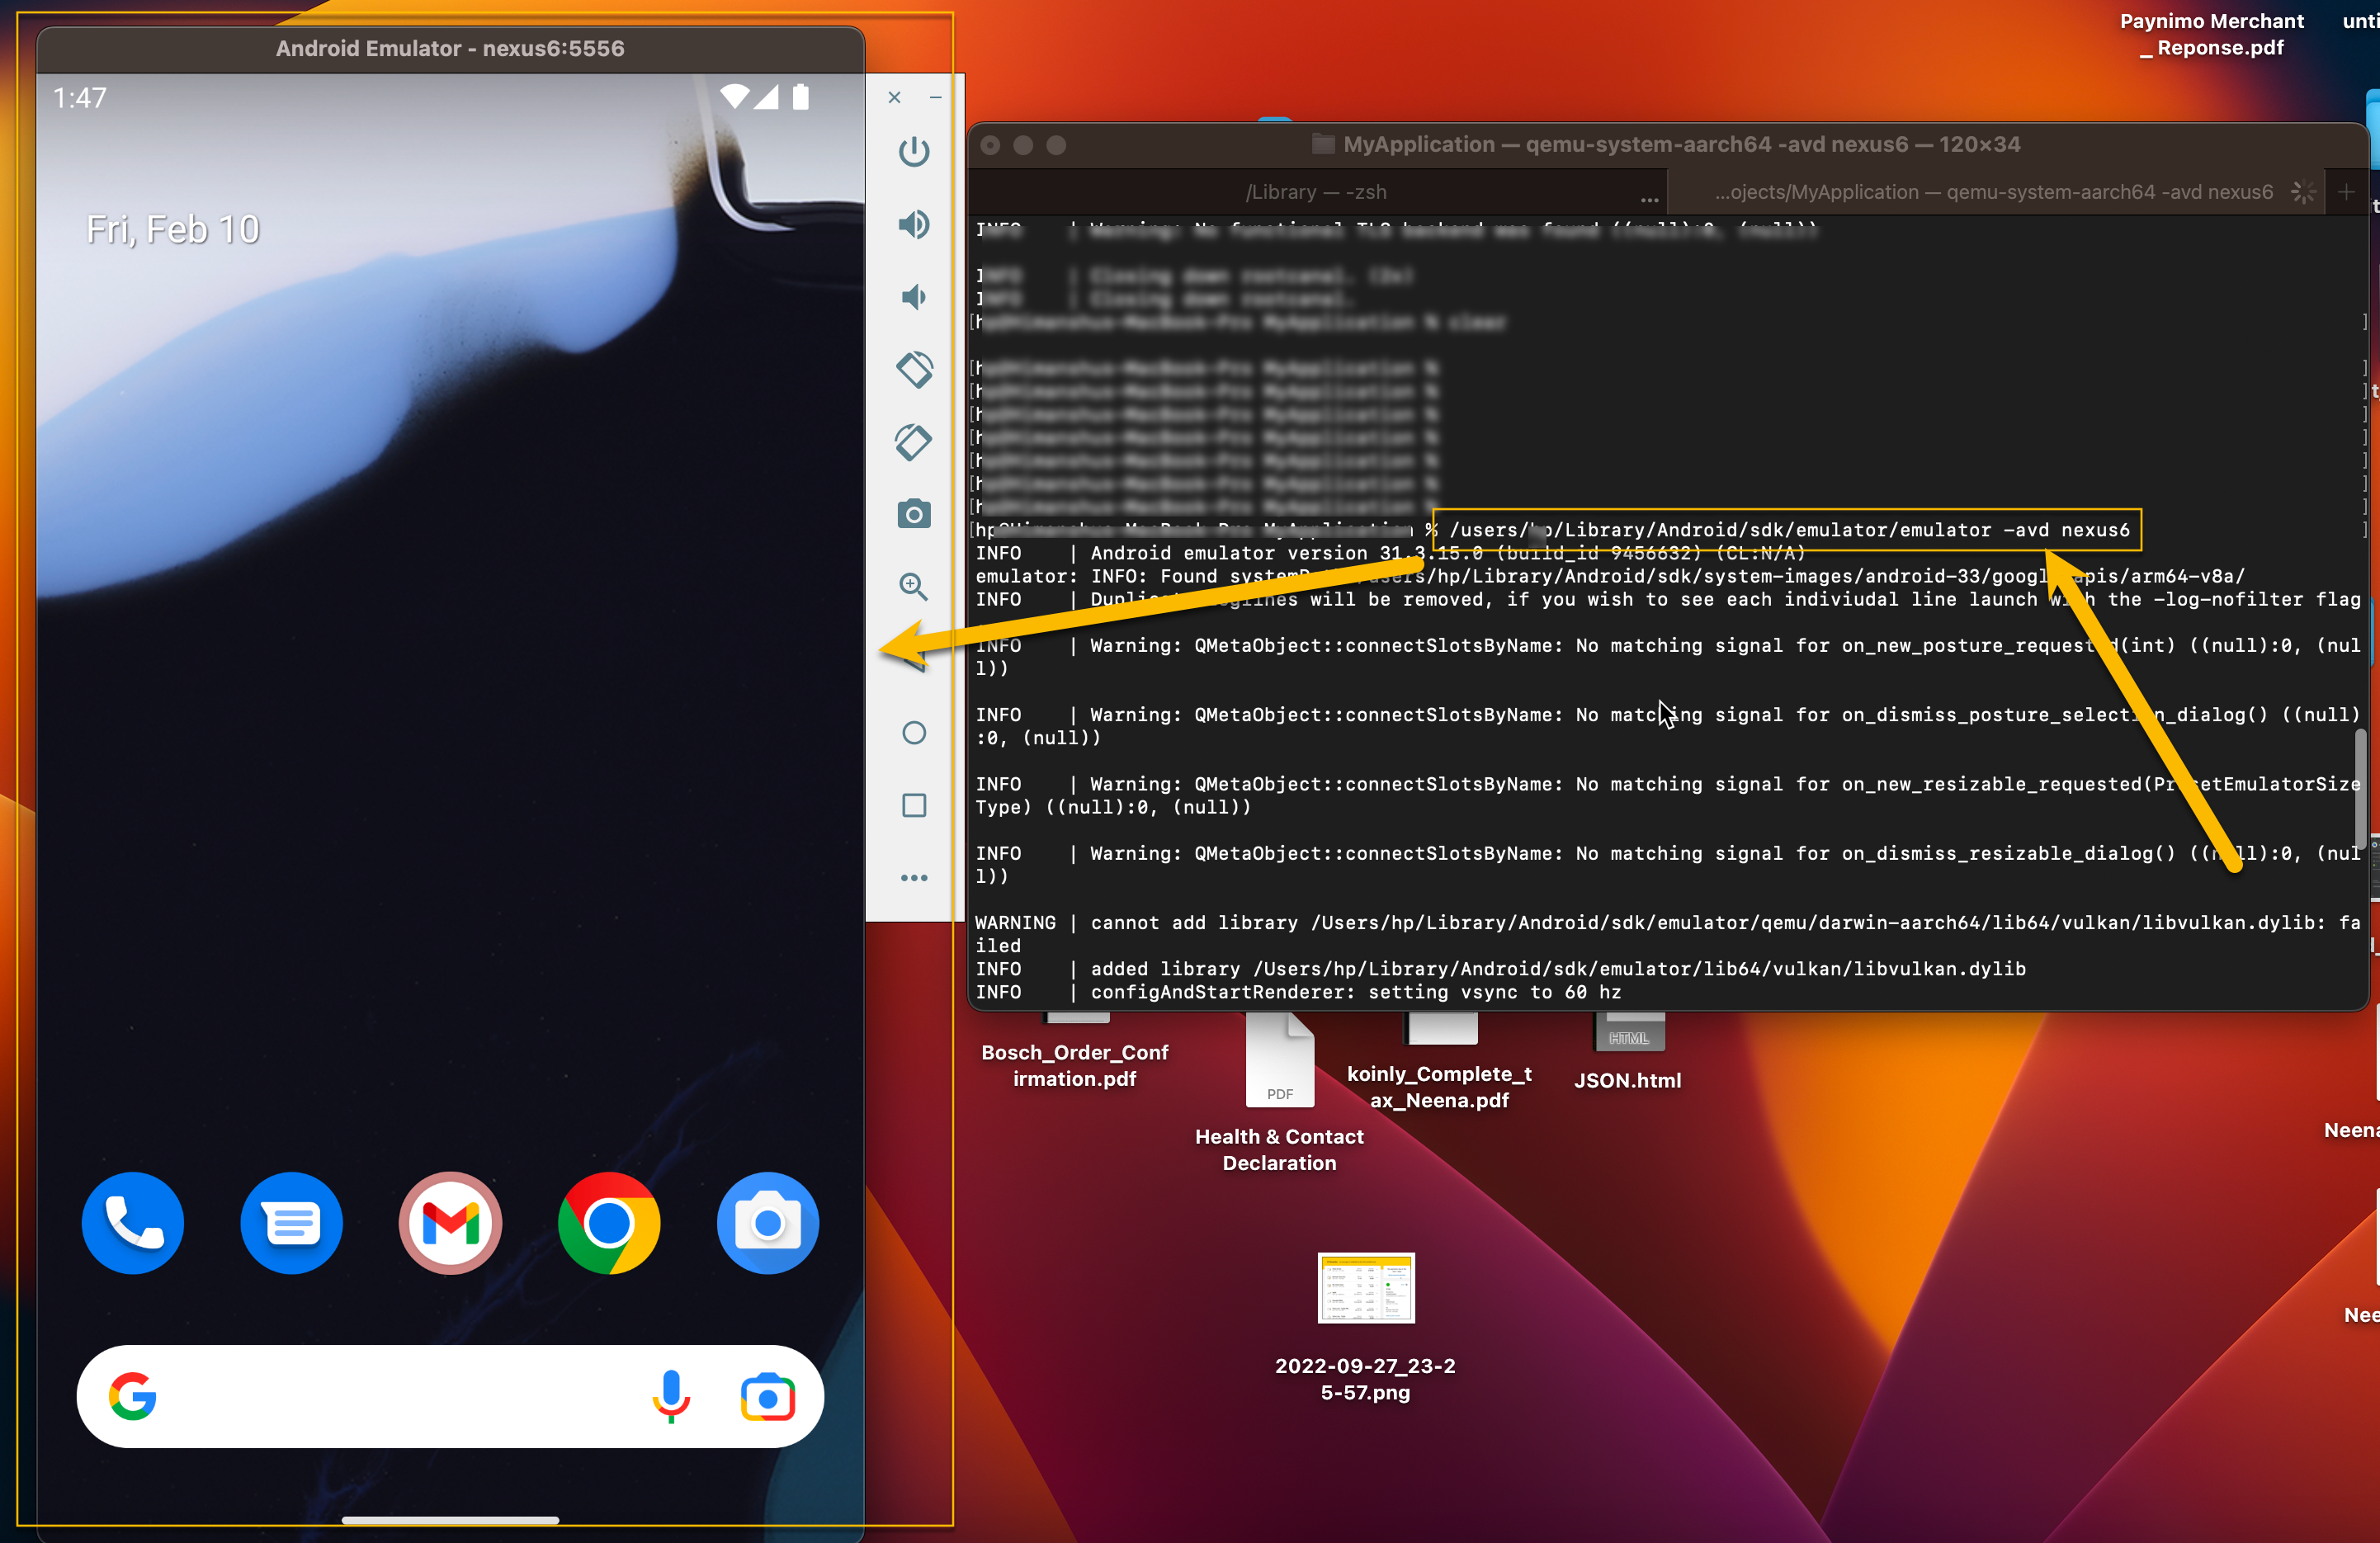
b. Now that we have setup the devices , we don't really need to open Android studio to launch these devices.
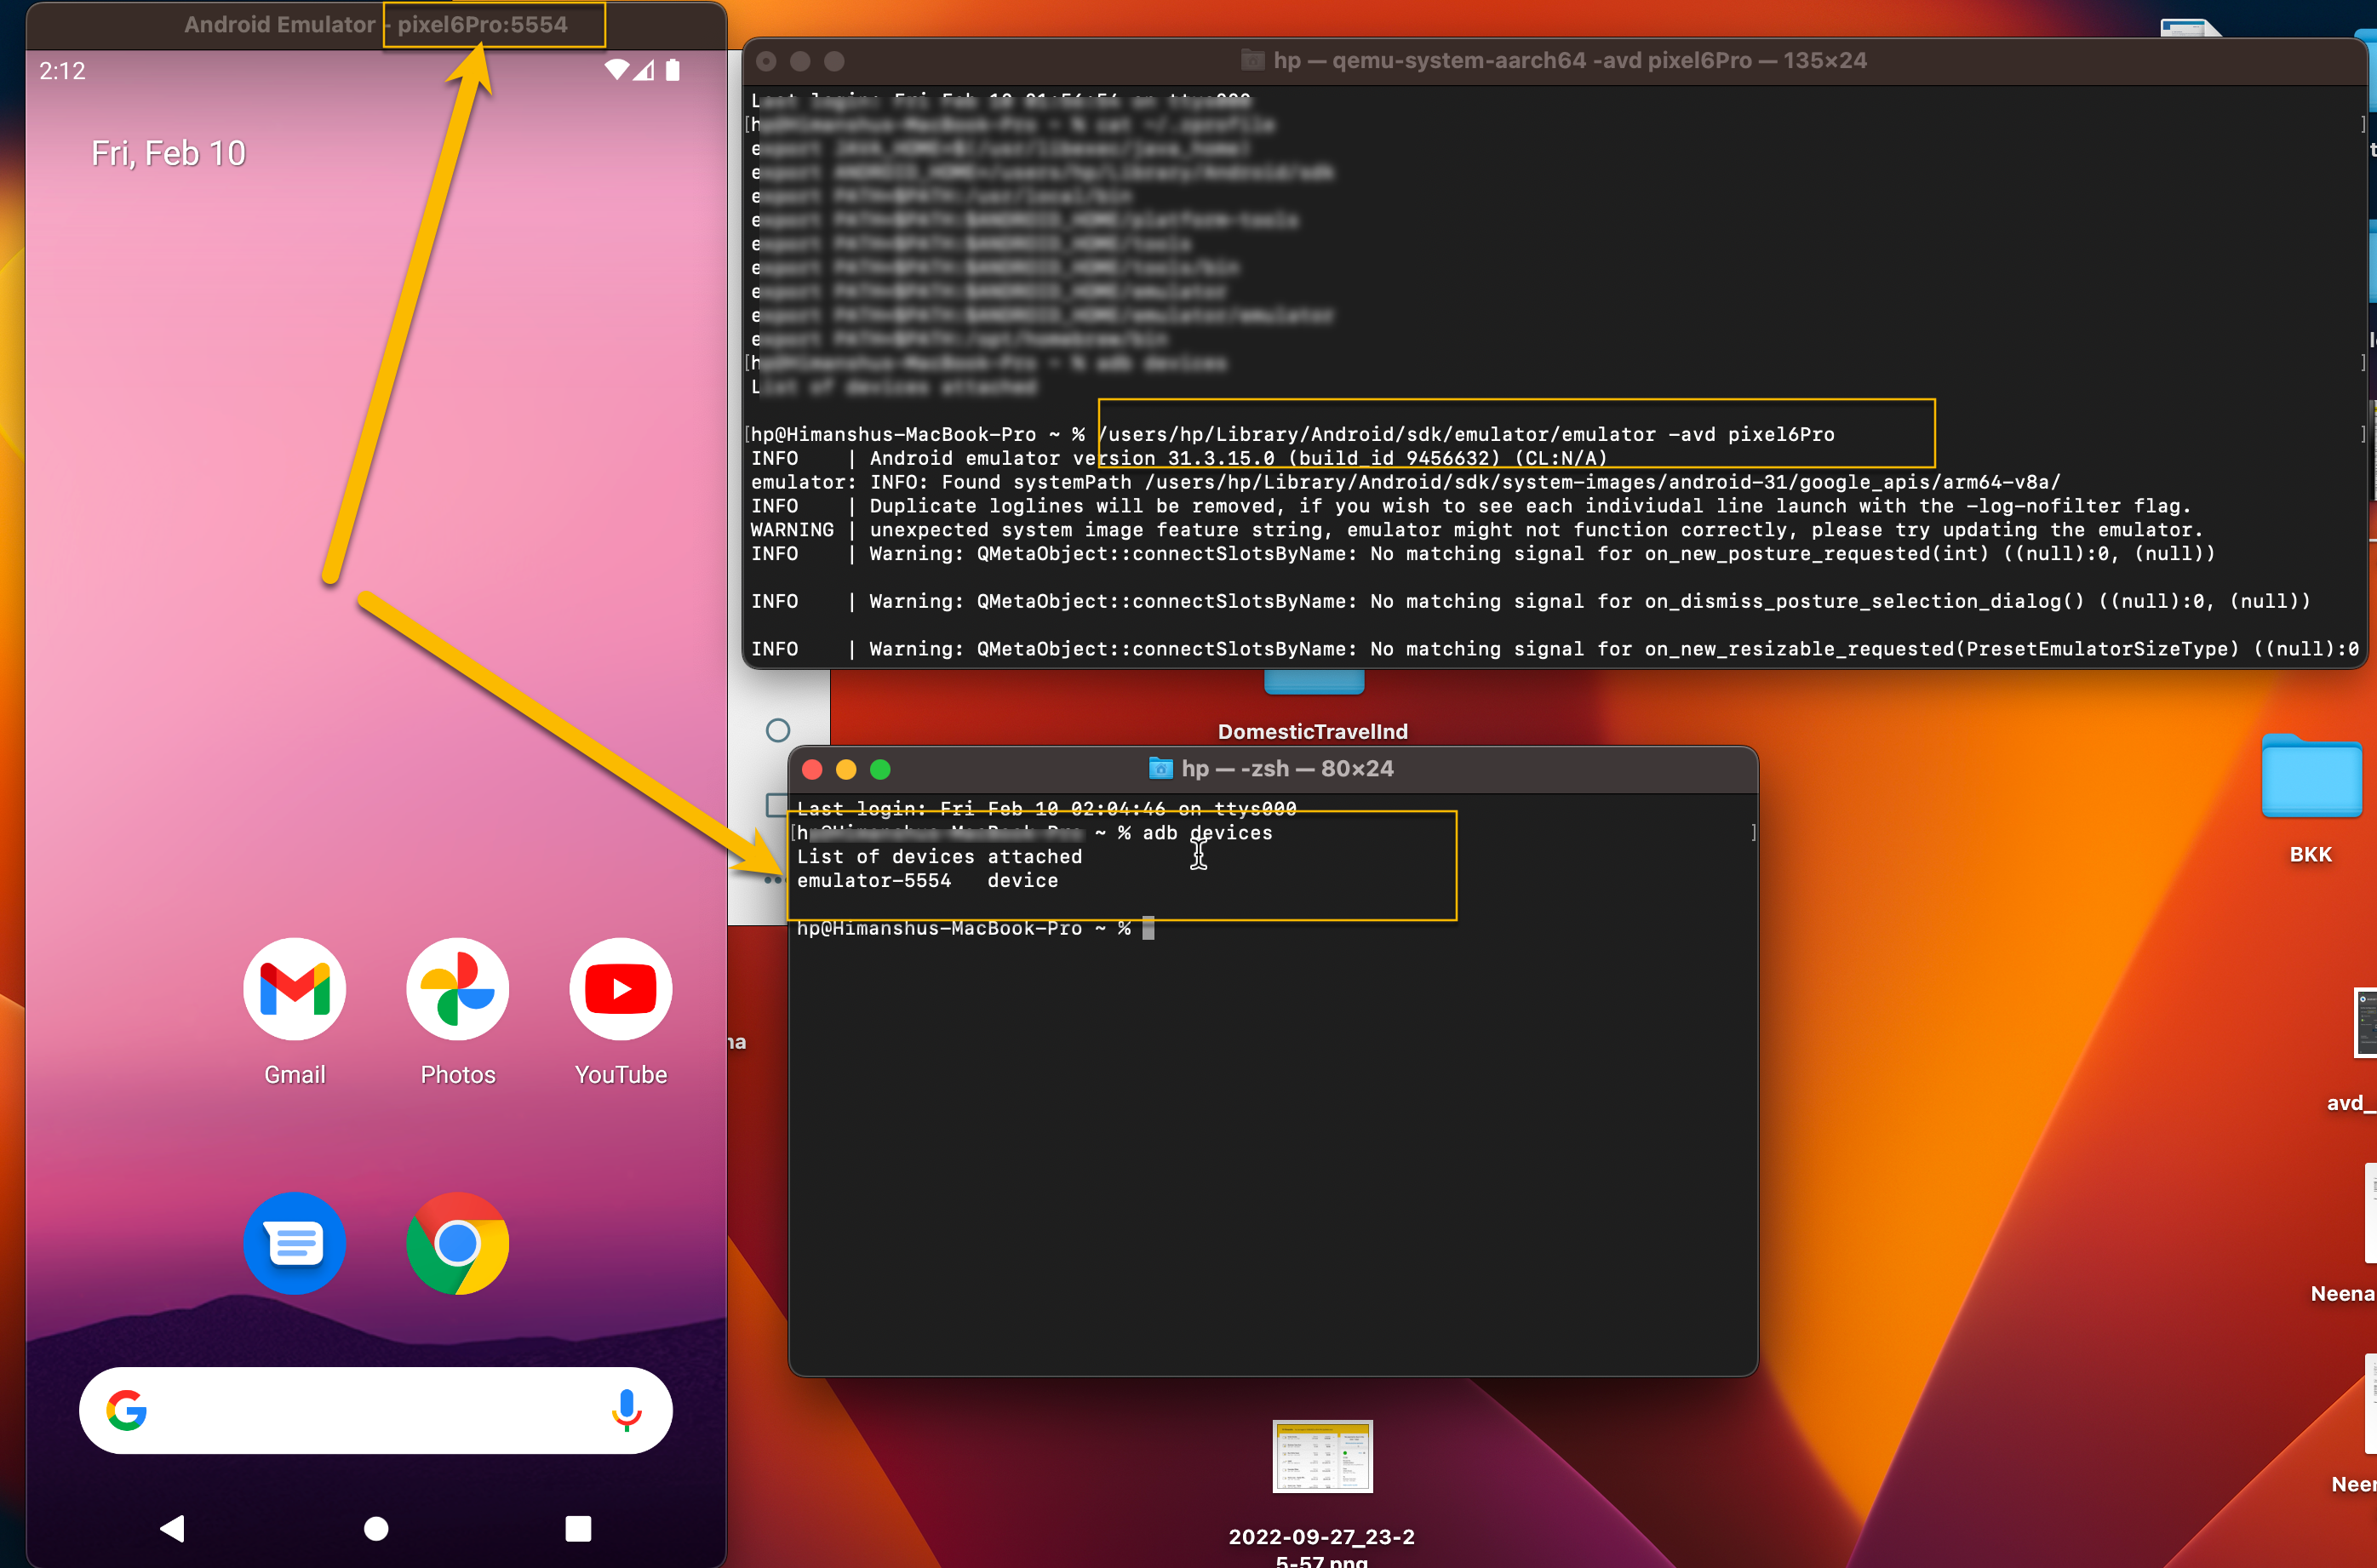
Use the following command from Terminal to launch the
/users/<username>/Library/Android/sdk/emulator/emulator -avd nexus6
3. Install apk via cli
Note: To start with download fitbit apk from here if you want to follow along
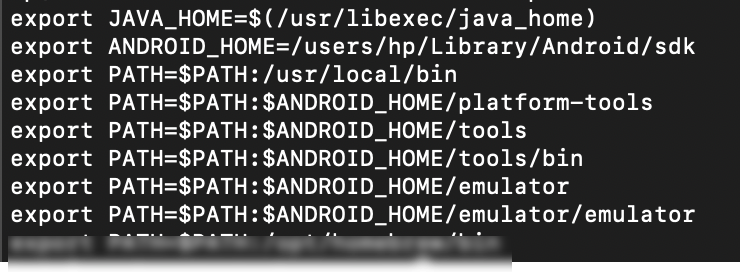
3.1 Verify PATH variable
One of efficient ways to install apk is to use cli . We are going to use Android Debug Bridge ("adb"), CLI tool which should get installed as part of Android sdk when you have download Android Studio
To know more about adb refer to this page
Make sure that PATH variables are set correctly, use this as reference:
3.2 Verify connected emulators
adb Commands used here:
to view the connected devices : adb devices
to install an apk : adb -s <device-name> install <apk name with path>
to re-install apk (when reinstalling): adb -s <device-name> install -r <apk name with path>
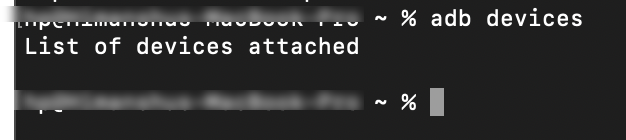
a. when no emulators are running, output of "adb devices"
b. when 1 virtual device is running, output of "adb devices"
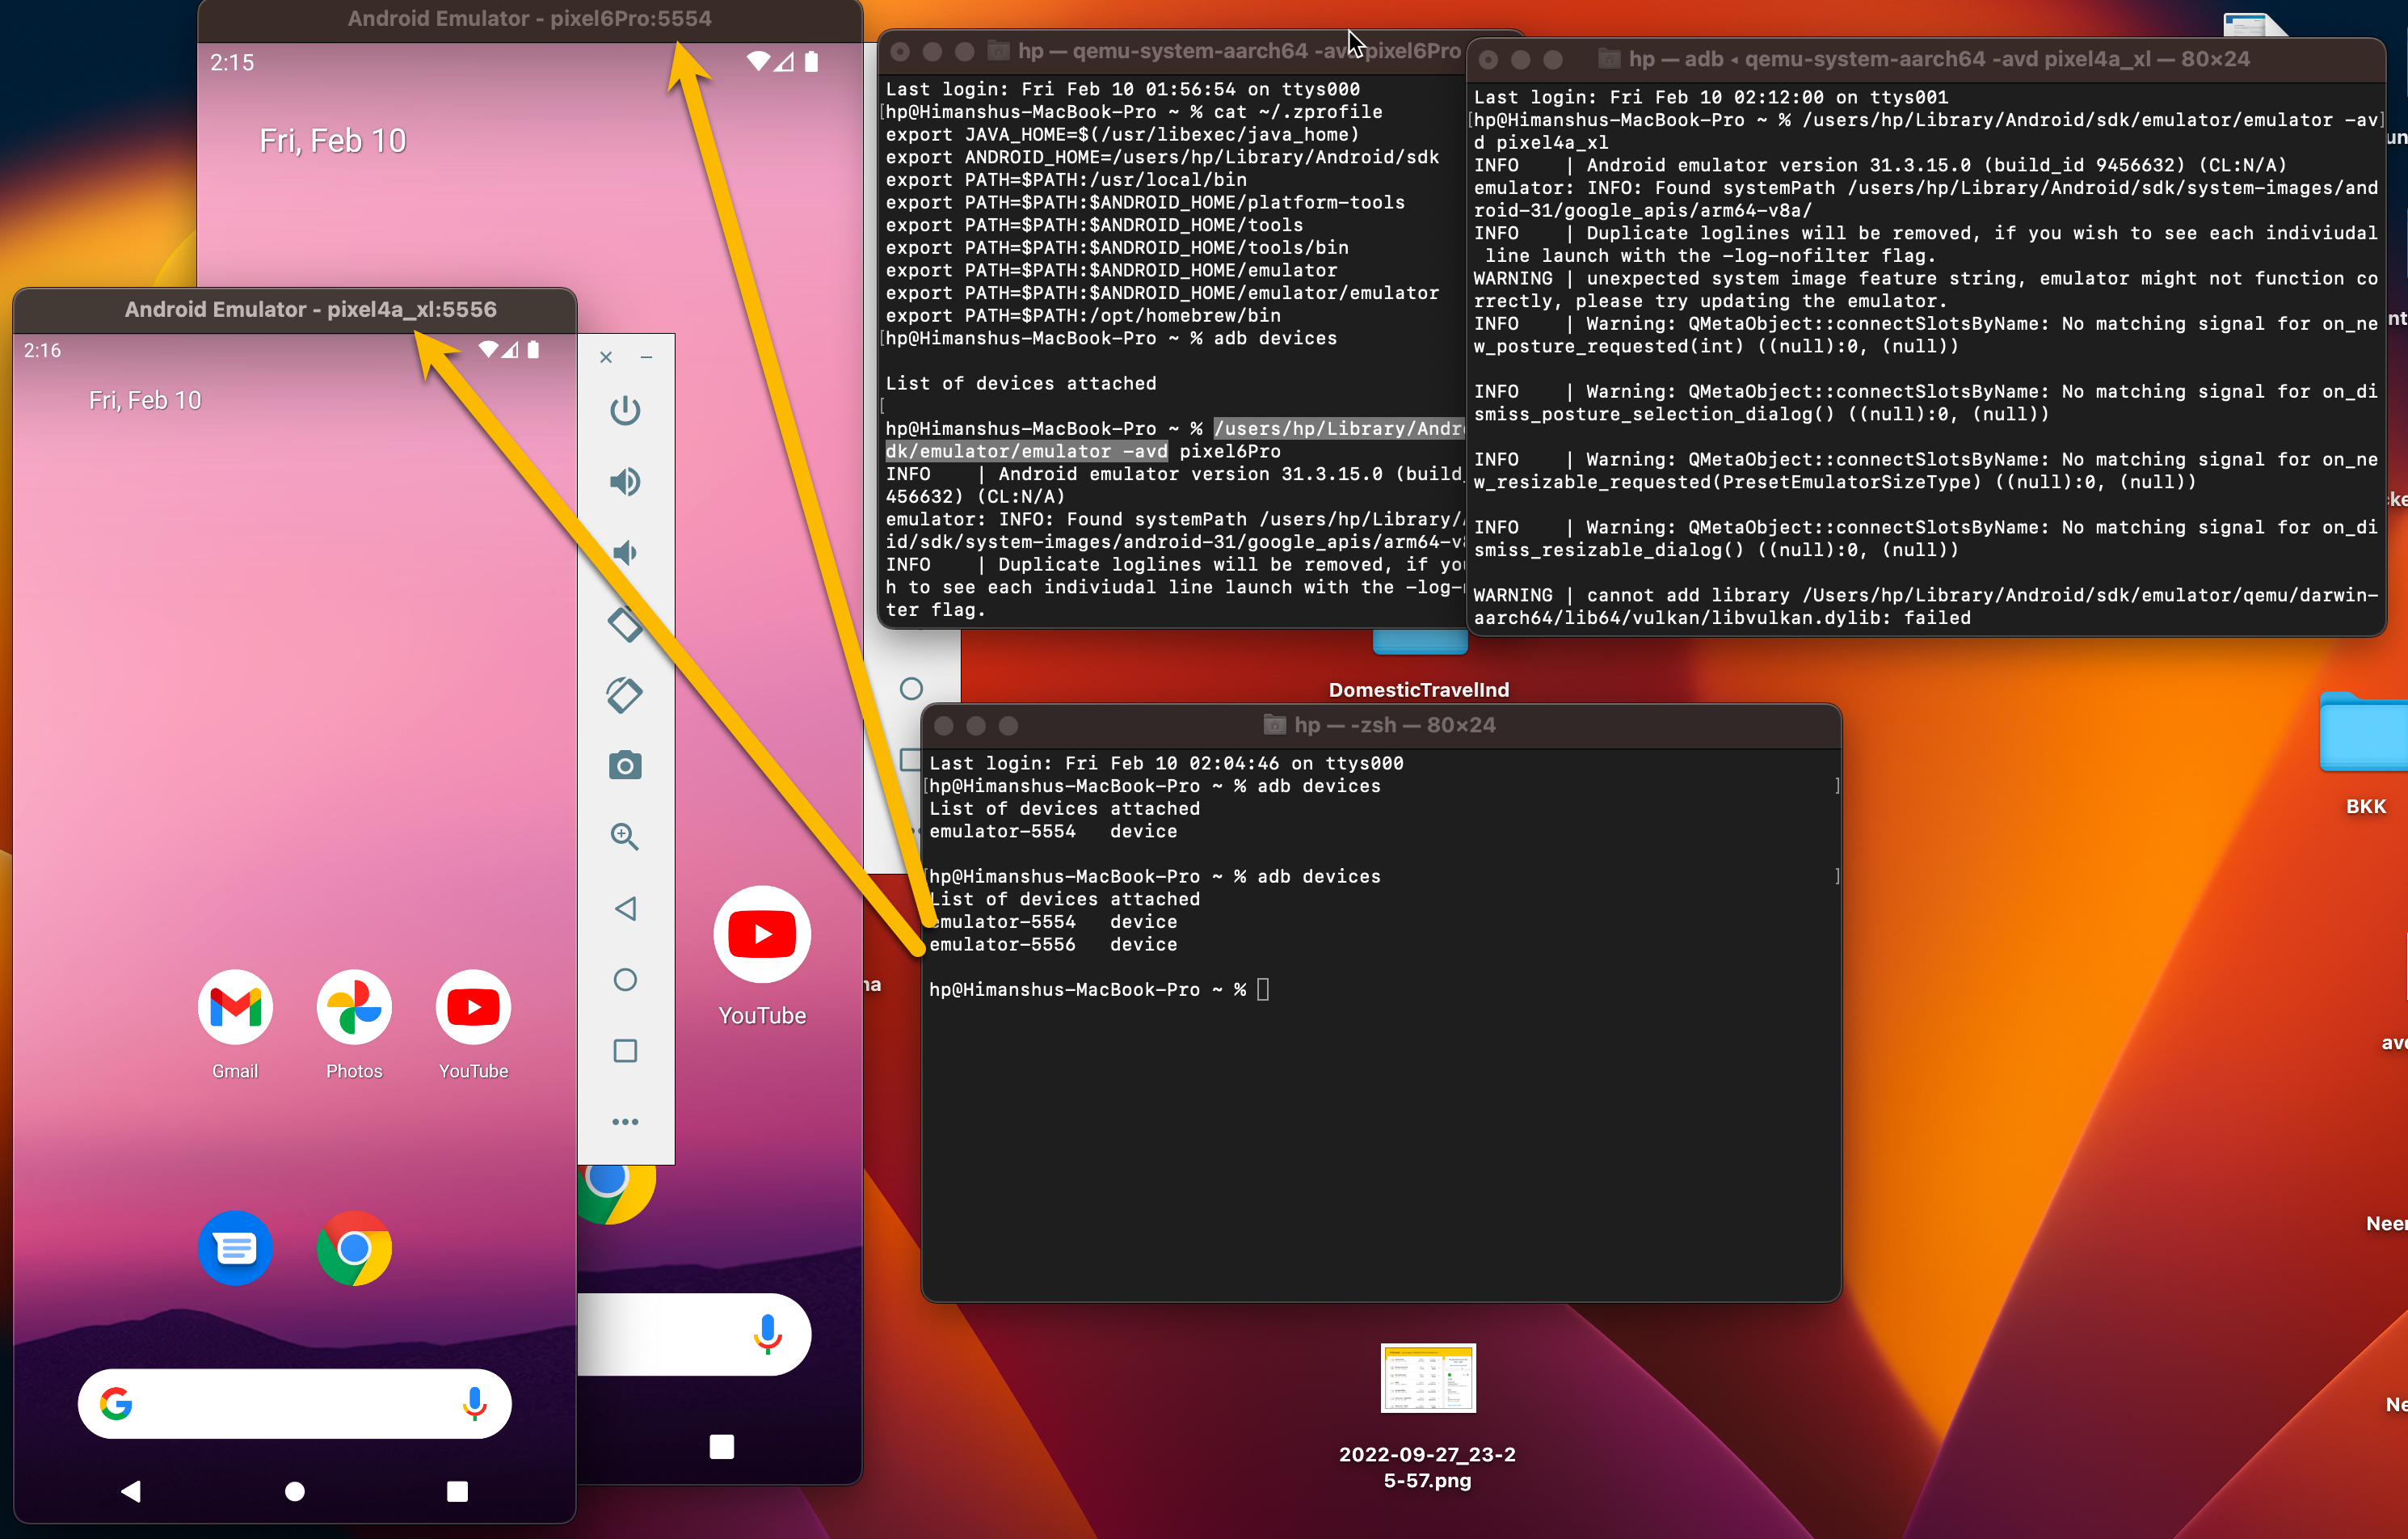
b. when 2 devices are running, output of "adb devices"
c. To install apk
first go to the folder where apk is present

Then run the following command to install the apk on the emulator of choice
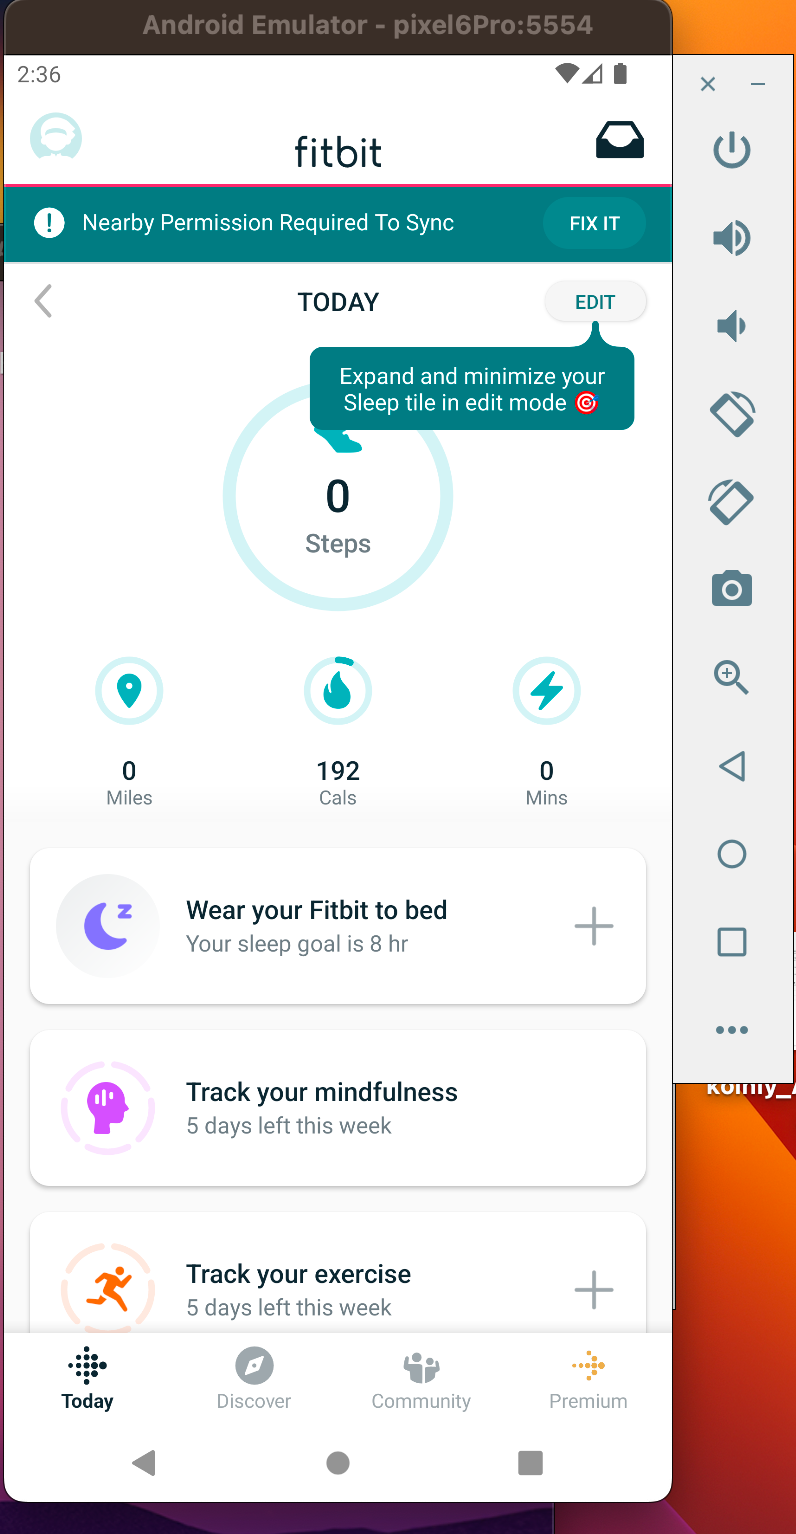
adb -s emulator-5554 install -r fitbit3.apk

- you should be able to view and use the fitbit app on virtual device "pixel6Pro"